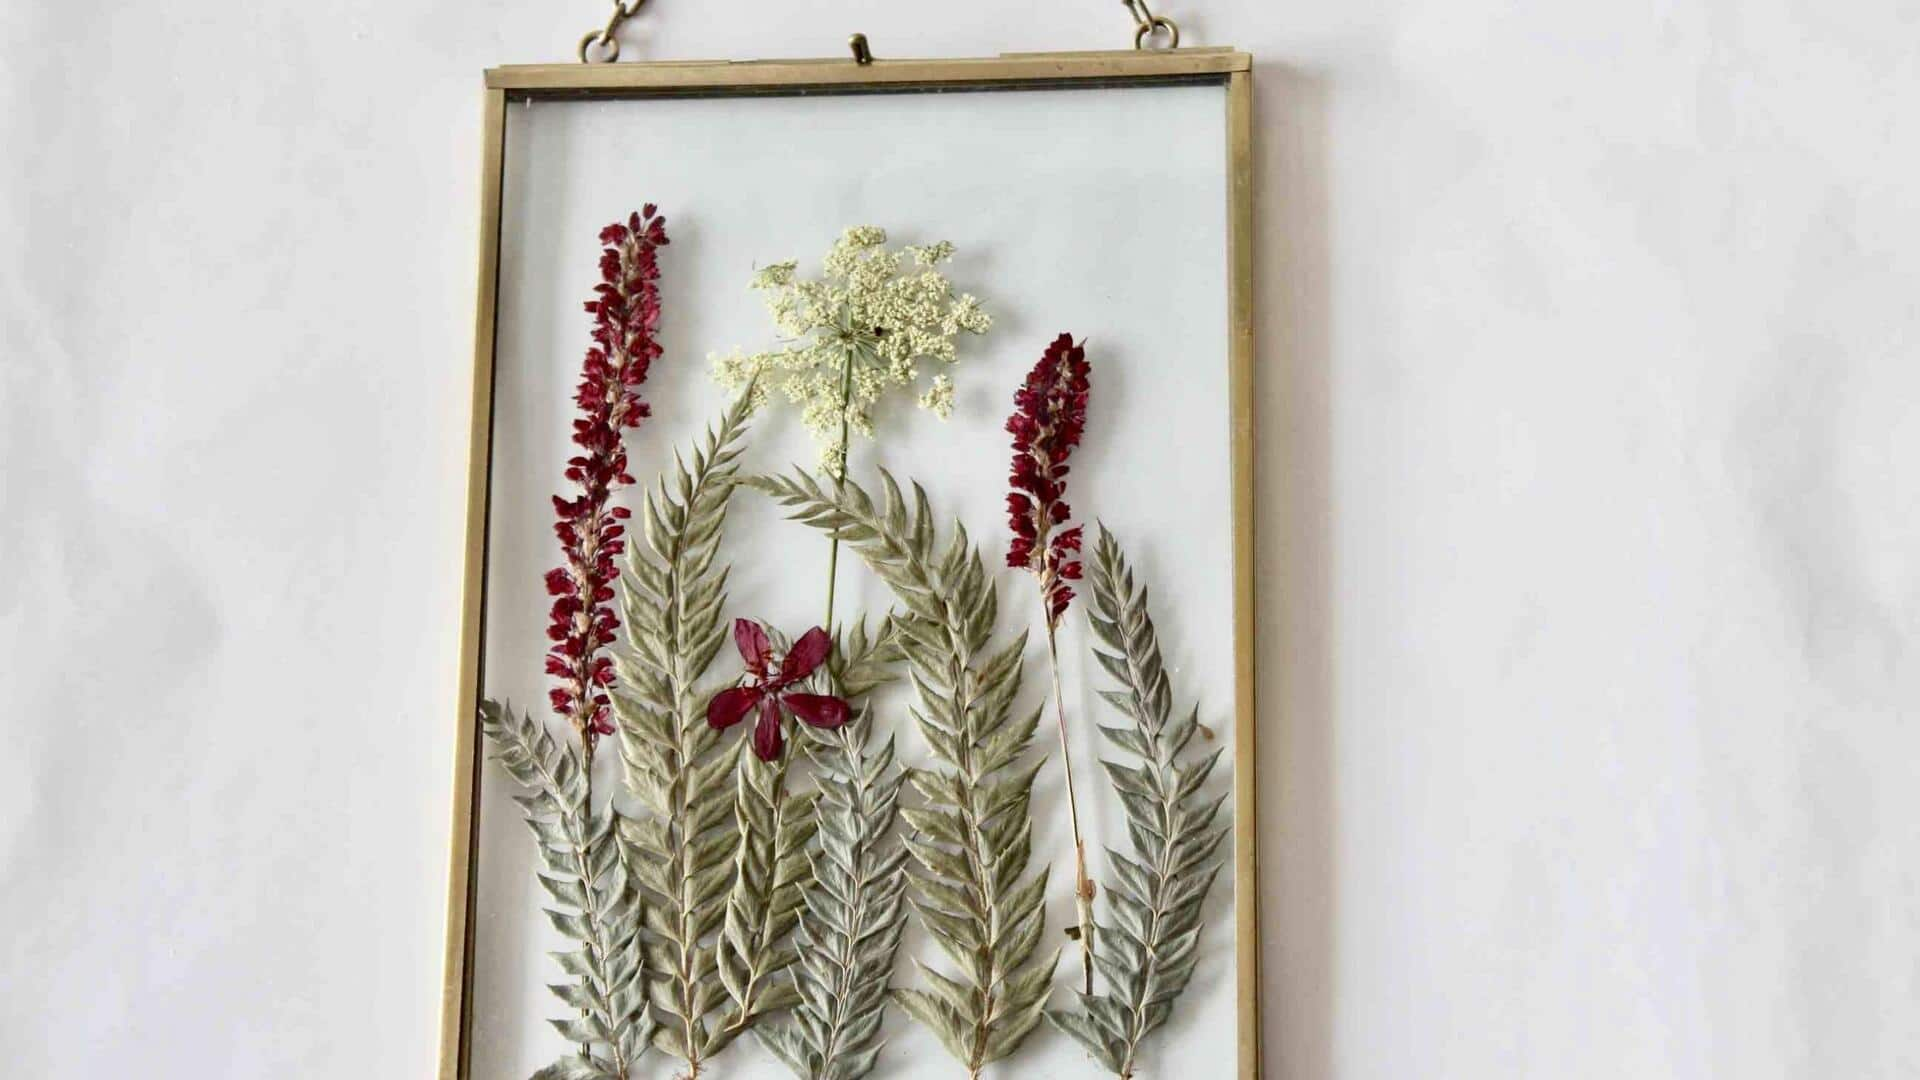
How to create pressed flower wall art
What's the story
Pressed flower wall art is an exquisite way to bring nature into your home. The method involves preserving flowers between sheets of paper and then arranging them into beautiful designs. This not only makes for an aesthetic appeal but also adds a personal touch to your decor. With some basic materials and creativity, you can craft unique pieces that reflect your style and appreciation for nature's beauty.
Flower choice
Selecting the right flowers
Choosing the right flowers is key to making pressed flower art. Opt for flowers with flat petals, such as daisies or pansies, as they press well. Pick fresh blooms at their peak for the best color retention. Avoid overly moist flowers as they may mold during pressing. Seasonal blooms can also add a unique touch to your artwork.
Pressing method
Pressing techniques explained
To press flowers, place them between two sheets of absorbent paper and put them inside a heavy book or a flower press. Ensure that petals lay flat and don't overlap too much. Change the paper every few days until completely dry, which usually takes about two weeks. This way, you retain the color and shape of the flowers.
Design layout
Arranging your design
Once your flowers are dried and ready, start arranging them on a piece of cardstock or canvas board. Play with different layouts before you glue them down permanently. Consider symmetry or asymmetry based on your taste. Use tweezers for precise placement without damaging delicate petals.
Framing tips
Mounting your artwork
After arranging and gluing down all elements, let everything dry completely before framing or mounting your artwork behind glass to protect it from dust and moisture damage over time. Choose frames that complement both the artwork itself and existing decor styles within your home environment, ensuring harmony throughout each room where these creations are displayed prominently yet tastefully alike.