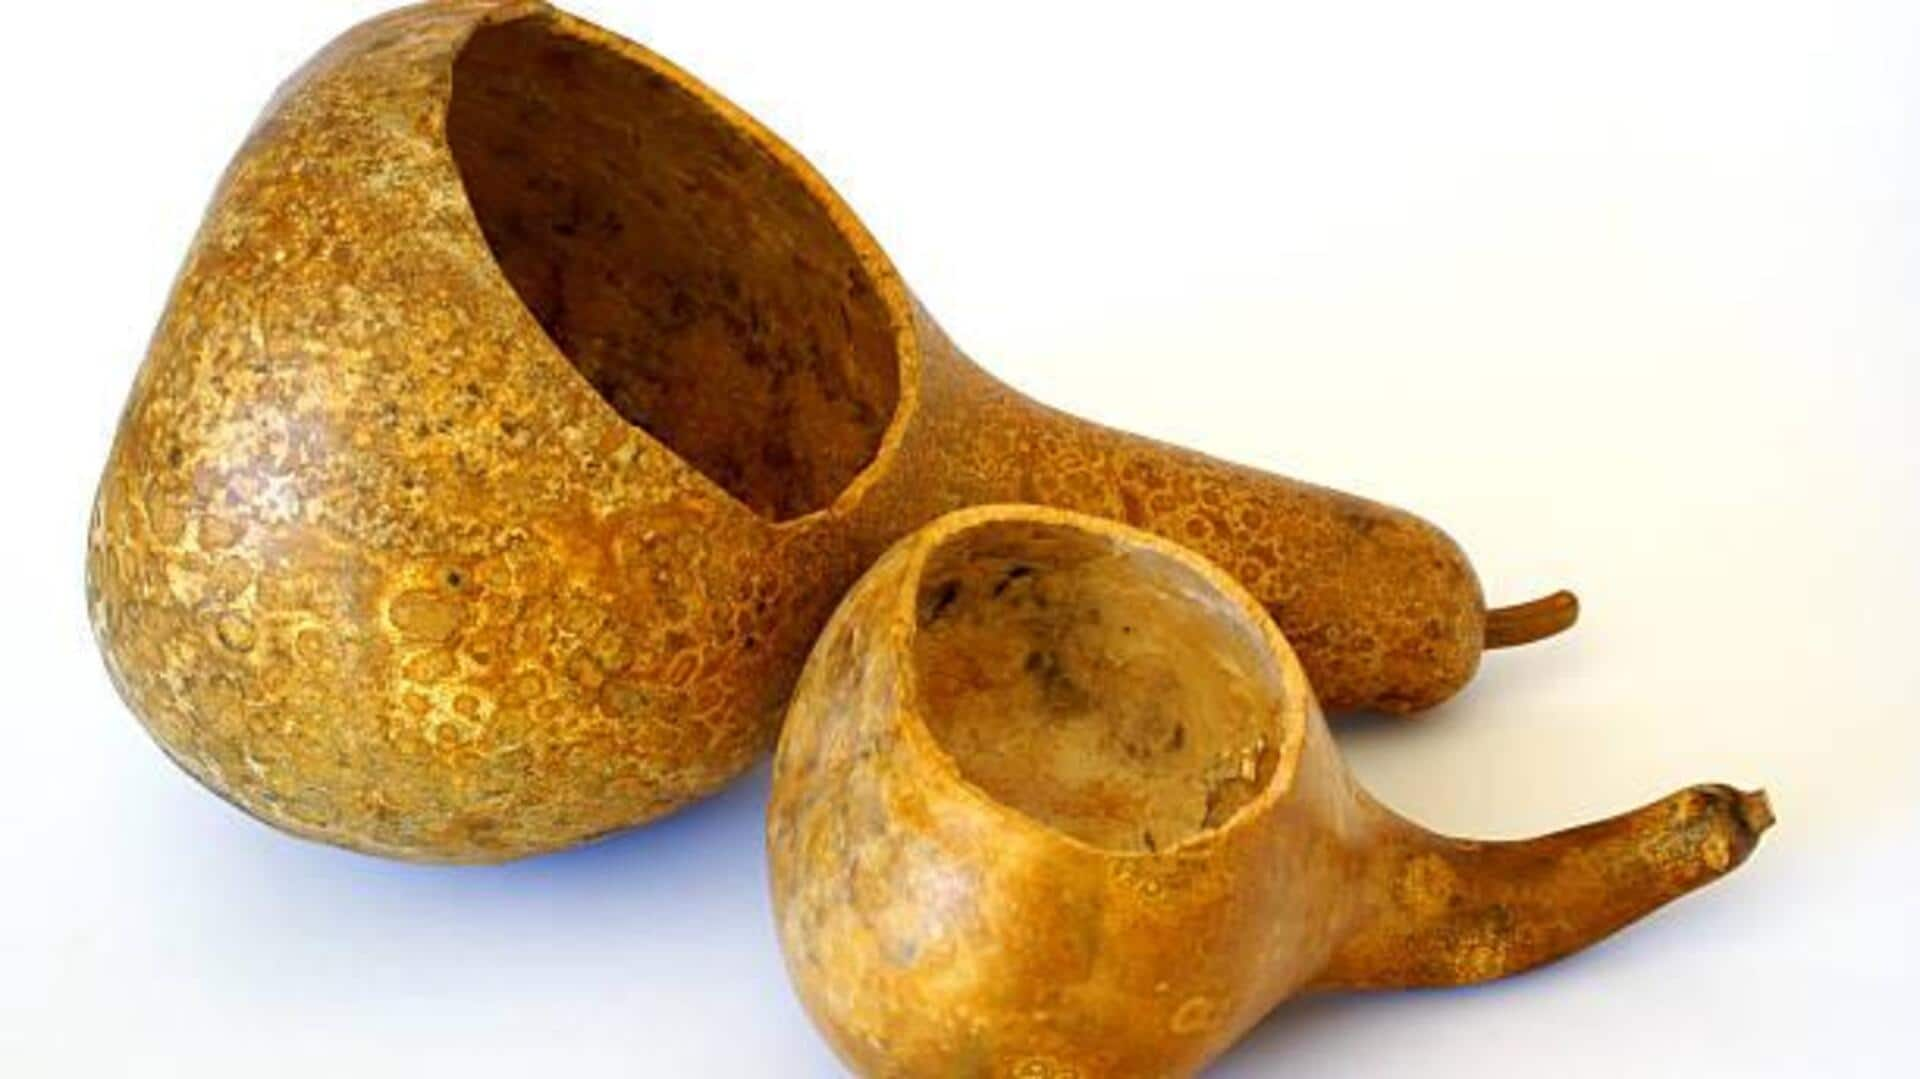
DIY: How to make calabash bowls at home
What's the story
African calabash bowls are a traditional craft that has been practiced for centuries. These bowls, made from the gourd fruit, are not only functional but also hold cultural significance in many African communities. The process of making these bowls involves skill and patience, resulting in unique pieces that reflect the artistry of their makers. Here are some insights into the art of crafting these iconic bowls.
#1
Selecting the right gourd
Selecting the right gourd is essential for making calabash bowls. The gourd should be mature and properly dried to ensure durability. A mature gourd has a hard shell that can be carved and polished easily. It is important to check for cracks or blemishes on the surface, as these could affect the integrity of the final product.
#2
Carving techniques for precision
Carving is an integral part of calabash bowl making. Artisans use simple tools to carve intricate designs on the surface of the gourd. The key is precision, as every cut needs to be clean and deliberate. Practicing basic patterns before attempting more complex designs can help improve carving skills over time.
#3
Polishing for a smooth finish
Once carved, polishing gives calabash bowls their smooth finish. Traditionally, natural materials such as sandpaper or fine stones are used for polishing. The process removes any rough edges and enhances the details of the carvings. A well-polished bowl not only looks appealing but also feels pleasant to touch.
#4
Painting with traditional motifs
Painting adds another layer of beauty to calabash bowls by introducing vibrant colors and traditional motifs. These motifs often tell stories or represent cultural symbols unique to different African regions. Using natural dyes ensures that the colors remain vivid without harming the environment or compromising craftsmanship quality.