Capturing the polar night: Tips and tricks for Arctic photography
What's the story
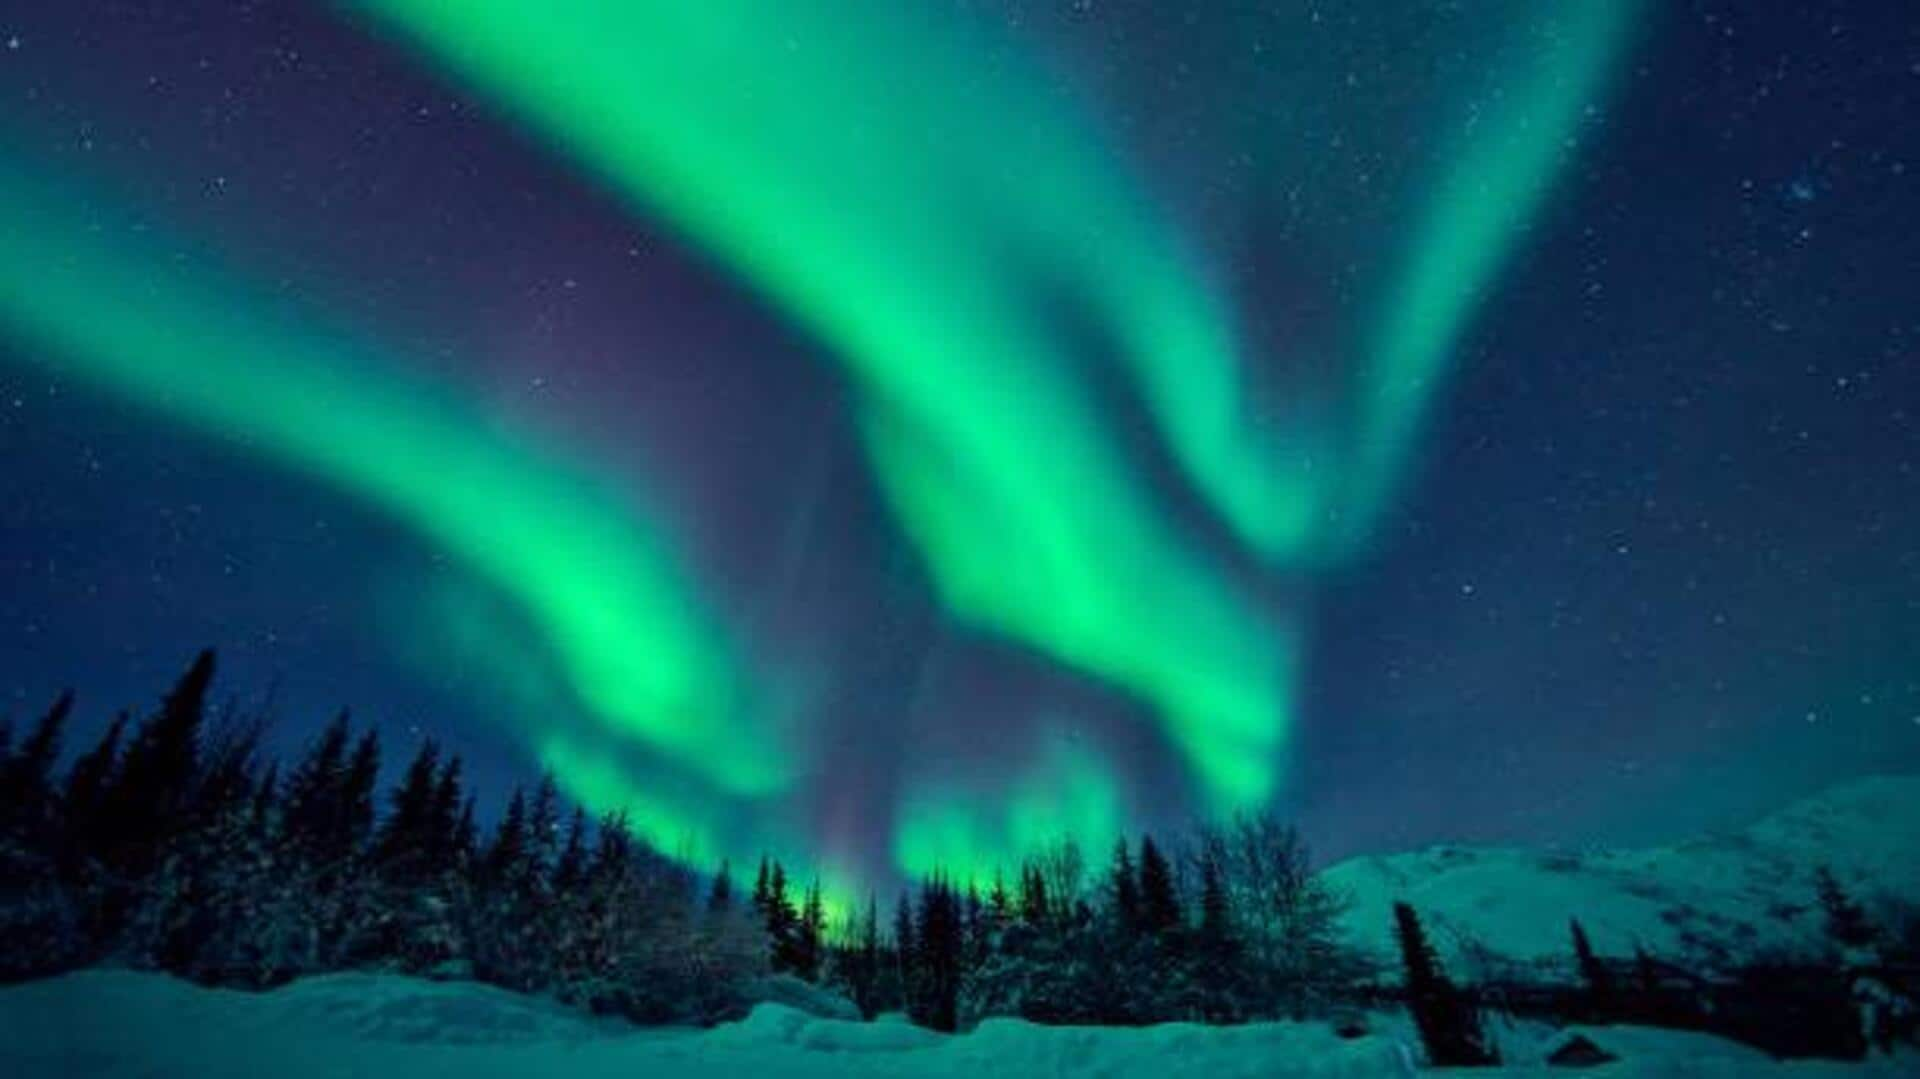
The Arctic's night sky is a photographer's dream come true. Circumpolar star circles, where stars appear to trace a circular path around the North Pole, create a stunning and ethereal backdrop for night photography. This article shares tips and insights on how to capture these celestial ballets, discussing equipment, timing, and the best spots.
Gear up
Choosing the right equipment
To successfully capture the night sky in the Arctic, you'll need a digital SLR or mirrorless camera with the ability to shoot in manual mode. A wide-angle lens with a large aperture (minimum f/2.8) lets in more light, allowing you to clearly capture the stars' motion across the sky. A solid tripod is also a must to keep your camera steady during long exposures.
Best season
Timing your adventure right
The ideal time to photograph circumpolar star circles is during the Arctic winter months, from late September to early March. Why so? Two reasons: During this time, nights are longest, giving you plenty of darkness for your photography sessions. Plus, colder temperatures usually translate to clearer skies, further increasing your odds of capturing that perfect shot.
Spot selection
Finding the perfect location
Choosing a location with very low light pollution is crucial for capturing beautiful photos of circumpolar star circles. Remote areas far from the lights of cities provide the dark skies needed for night photography. National parks close to the Arctic Circle are excellent options. They offer not only dark skies but also breathtaking landscapes that can serve as backdrops, adding to the beauty of your photos.
Setting up
Mastering camera settings
To capture circumpolar star circles like a pro: Switch your camera to manual mode. Select a wide aperture (f/2.8 or wider). Adjust ISO between 800 and 3,200 based on ambient light levels. And finally, pick an exposure time ranging from 15 minutes to several hours. Use an intervalometer for multiple exposures - you can stack them later in post-processing.
Editing tips
Post-processing techniques
Once you've captured your images, use software like Adobe Photoshop or Lightroom to stack multiple exposures together. This will create a single image showing beautiful, extended star trails around Polaris (the North Star). Carefully adjust contrast and brightness to make the star trails stand out without adding noise to your image.