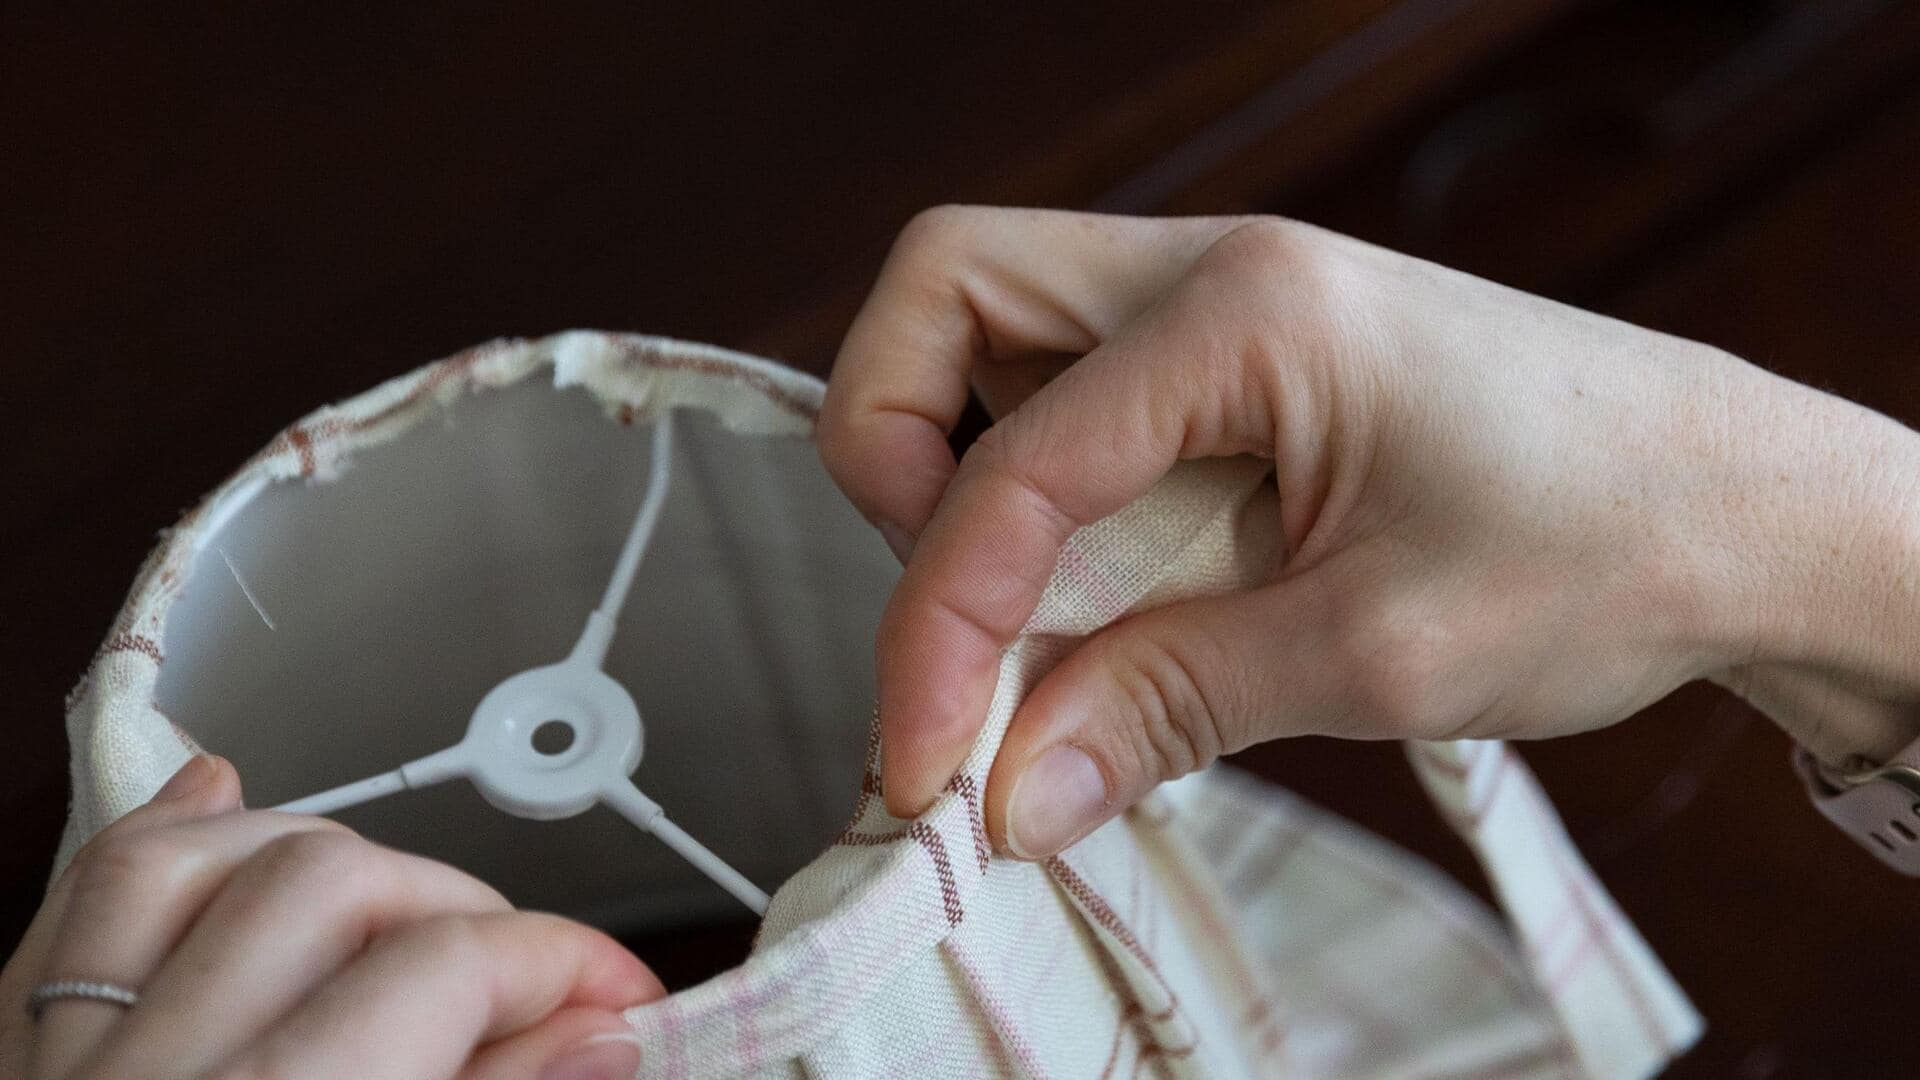
DIY guide: Steps to make personalized lampshades
What's the story
Creating personalized lampshades can be a fun and fulfilling way to add your unique touch to any room. With a few basic materials and some creativity, you can craft lampshades that reflect your style and personality. Whether you're looking to revamp an old lamp or create something entirely new, this guide will take you through the steps to make your own personalized lampshades.
Materials
Choosing the right materials
Selecting the right materials is key to making a lampshade. You can choose from fabric, paper, or even recycled materials like old maps or newspapers. Fabric gives you the option of textures and patterns, while paper is more economical and easy to work with. Make sure the material is heat-resistant if it will be used with a bulb.
Design
Designing your lampshade
Designing your lampshade is all about creativity. Think of patterns, colors, and shapes that go well with your decor. You can even draw inspiration from nature or geometric designs for a modern touch. Sketch out your design before starting to ensure it fits well with the size of the shade.
Assembly
Assembling the lampshade
Once you have your materials and design in place, it's time to assemble the lampshade. Cut the material according to the dimensions of the frame or base you have chosen. Use glue or adhesive tape for paper shades, while fabric may require sewing or fabric glue for a secure hold.
Finishing touches
Adding finishing touches
Adding finishing touches can elevate your DIY lampshade from good to great. Consider adding embellishments like beads, sequins, or ribbons for added flair. If using fabric, hemming edges can give it a polished look. For paper shades, you might want to add protective coatings to ensure durability.