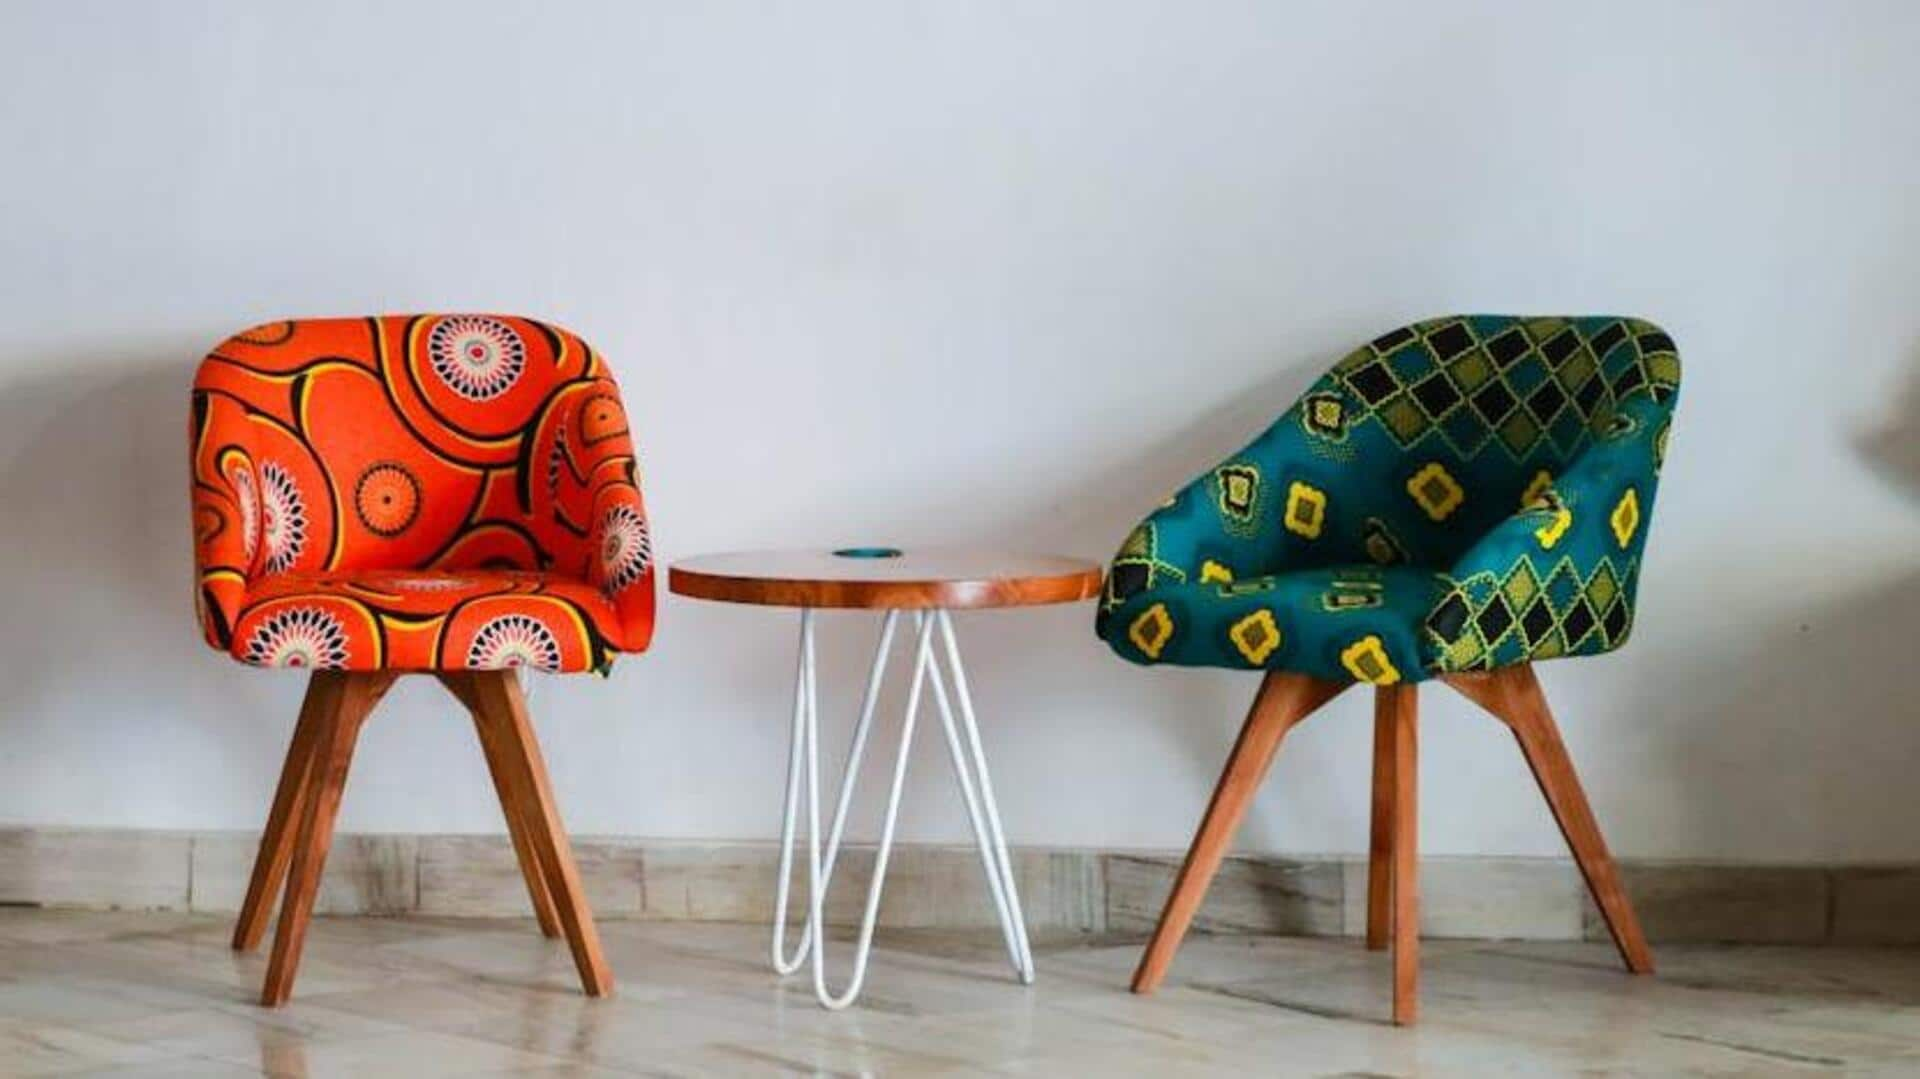
This is how you can upgrade your furniture on budget
What's the story
Reclaimed wood scraps provide an affordable way to upgrade your furniture and give your home a unique touch. These pieces of wood, usually thrown away from bigger projects, can be converted into stunning and useful pieces of furniture. Plus, by using reclaimed wood, you save money and play your part in keeping the environment clean by reducing waste. Here are some practical ideas to upgrade your furniture with reclaimed wood.
Coffee table
Create a rustic coffee table
A rustic coffee table can be made from reclaimed wood scraps of different sizes, texture. Start by picking pieces that go well with each other's color and grain pattern. Put them together on a sturdy frame/base, making sure it is stable and balanced. Sand the surface to smoothen rough edges, then apply a clear sealant to protect the wood without losing its natural look. You can do this project under ₹2,000.
Shelving units
Build unique shelving units
Reclaimed wood is ideal for crafting unique shelving units that lend character to any room. Take longer planks as shelves and smaller pieces as supports/brackets. Make sure to securely attach the shelves to walls using appropriate hardware for safety. The natural imperfections in the wood will make each shelf look distinct, making it functional and decorative at the same time.
Accent wall
Design an accent wall feature
Transform an ordinary wall into an eye-catching feature by covering it with reclaimed wood scraps. Lay the pieces in a pattern that suits your style—be it herringbone, chevron or random placement—and secure them with nails or wall-safe adhesive. This technique adds warmth and texture to any space without having you spend a fortune.
Picture frames
Craft custom picture frames
Small scraps of reclaimed wood are perfect for crafting custom picture frames that display personal photos or artwork beautifully. Cut the pieces into desired lengths depending on frame size requirements. Join them at corners using miter cuts if possible. Then, glue together securely before adding backing material like cardboard or thin plywood board behind the framed item itself, so everything stays put nicely over time.