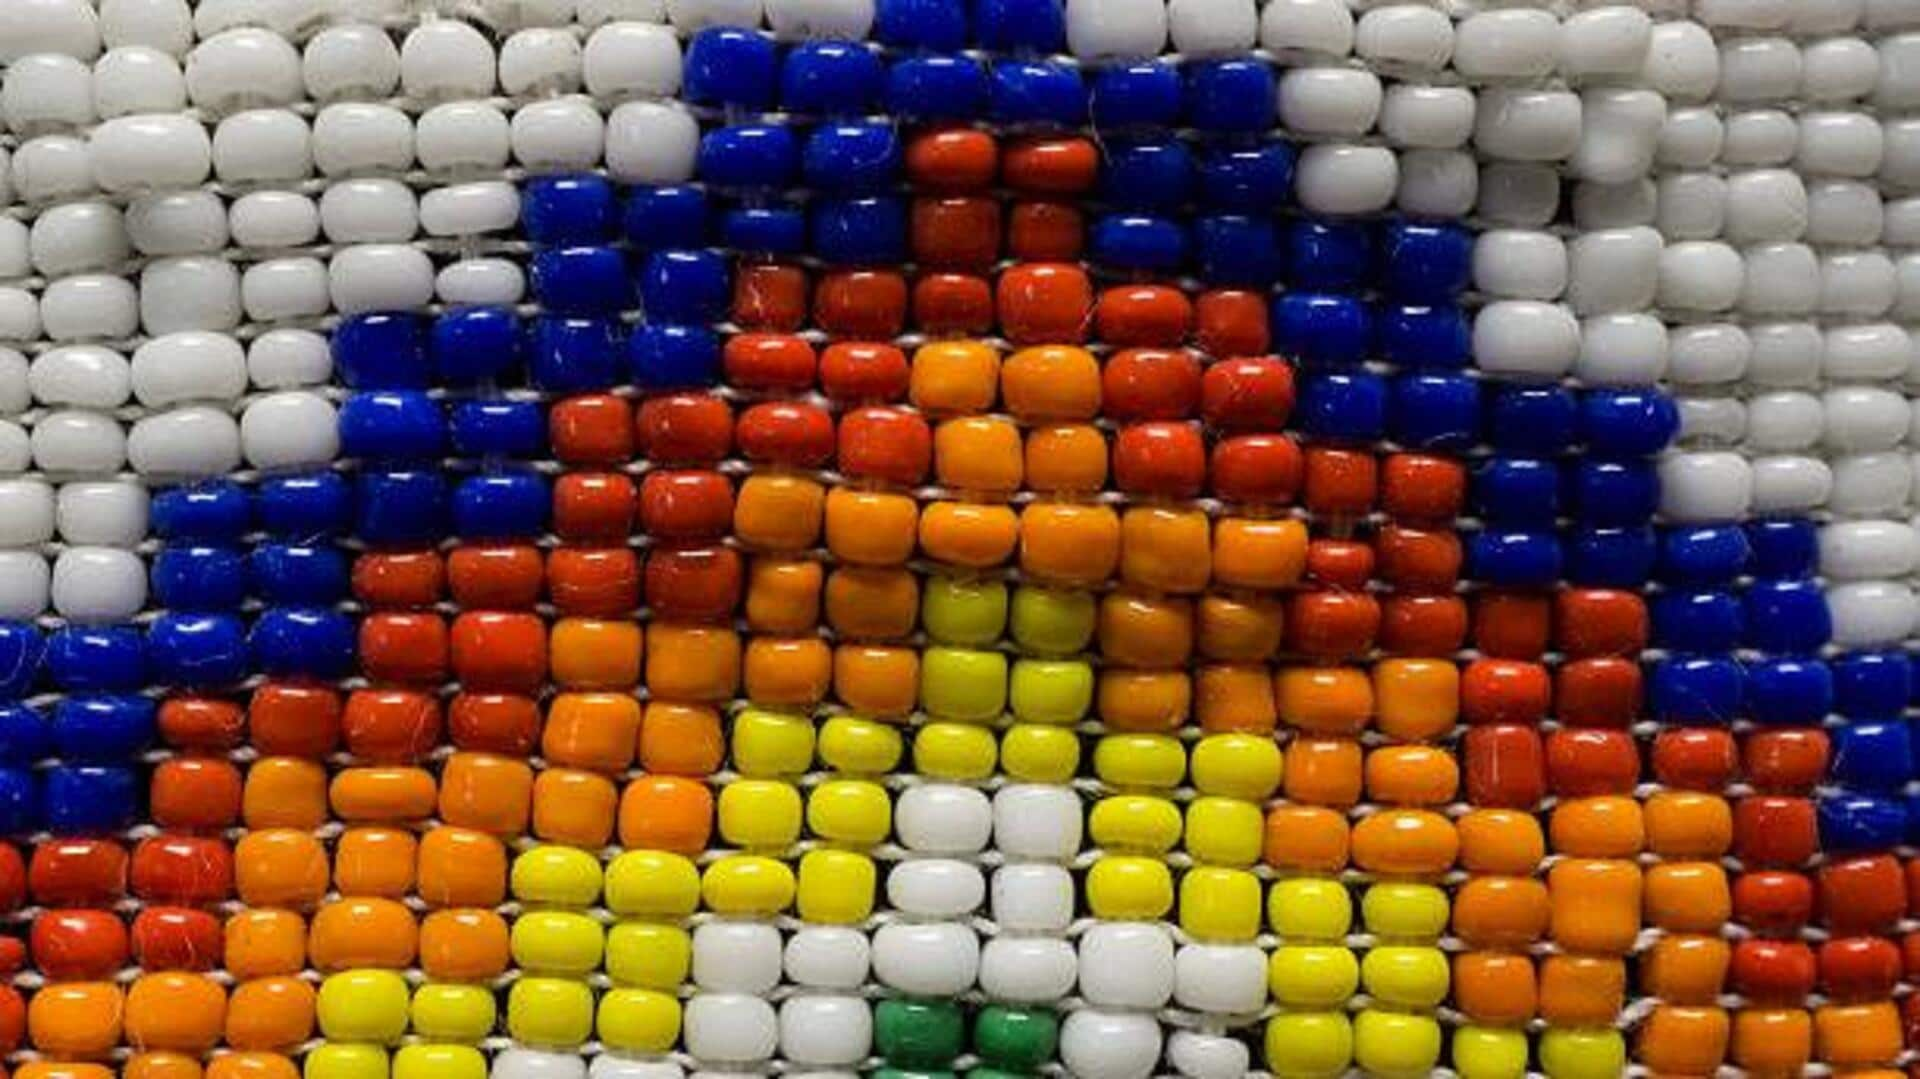
How to style your interiors with beaded murals
What's the story
Zulu-style beaded murals are a beautiful way to add color and culture to your space. These murals, inspired by the traditional African art form, are made using bright beads arranged in intricate patterns. They make for a unique way to decorate walls and can be made at home with the right materials and techniques. Here's how you can create your own Zulu-style mural.
Tip 1
Choosing the right materials
Selecting the right materials is key to creating an authentic Zulu-style mural. Start by picking high-quality beads in vibrant colors like red, green, blue, and yellow. You will also need a sturdy base like canvas or plywood to hold the beads well. Strong adhesive glue is important to keep the beads in place. Make sure you have all tools ready before starting your project.
Tip 2
Understanding traditional patterns
Zulu beadwork is famous for its symbolic patterns, each telling a story or representing a certain idea. Before you start, familiarize yourself with common designs such as diamonds, triangles, and zigzags. Each pattern has its own meaning in Zulu culture, so knowing these can add depth to your mural's story. Researching traditional designs will help you create a more authentic piece.
Tip 3
Planning your design layout
Once you have the materials and patterns, it's time to plan your design layout. Sketch your mural on paper first, deciding where each pattern will go on your base. This step ensures that you have a balanced composition before you start gluing beads. Consider using contrasting colors for different sections of the mural to make it visually appealing.
Tip 4
Assembling your mural step-by-step
Start assembling your mural by applying glue on small sections of your base at a time. This way, you can keep the glue from drying before placing beads on it. Use tweezers or pliers for precision while placing beads closely together according to your planned design layout. Patience is key here, as each section requires careful attention.
Tip 5
Displaying your finished artwork
Once completed, let the glue dry completely before displaying your artwork prominently in your home or workspace. Consider framing it if desired, but ensure that it remains visible enough so others can appreciate its beauty and cultural significance fully. Regularly clean dust off surfaces gently, using soft cloths, and avoid harsh chemicals that may damage delicate beadwork over time.