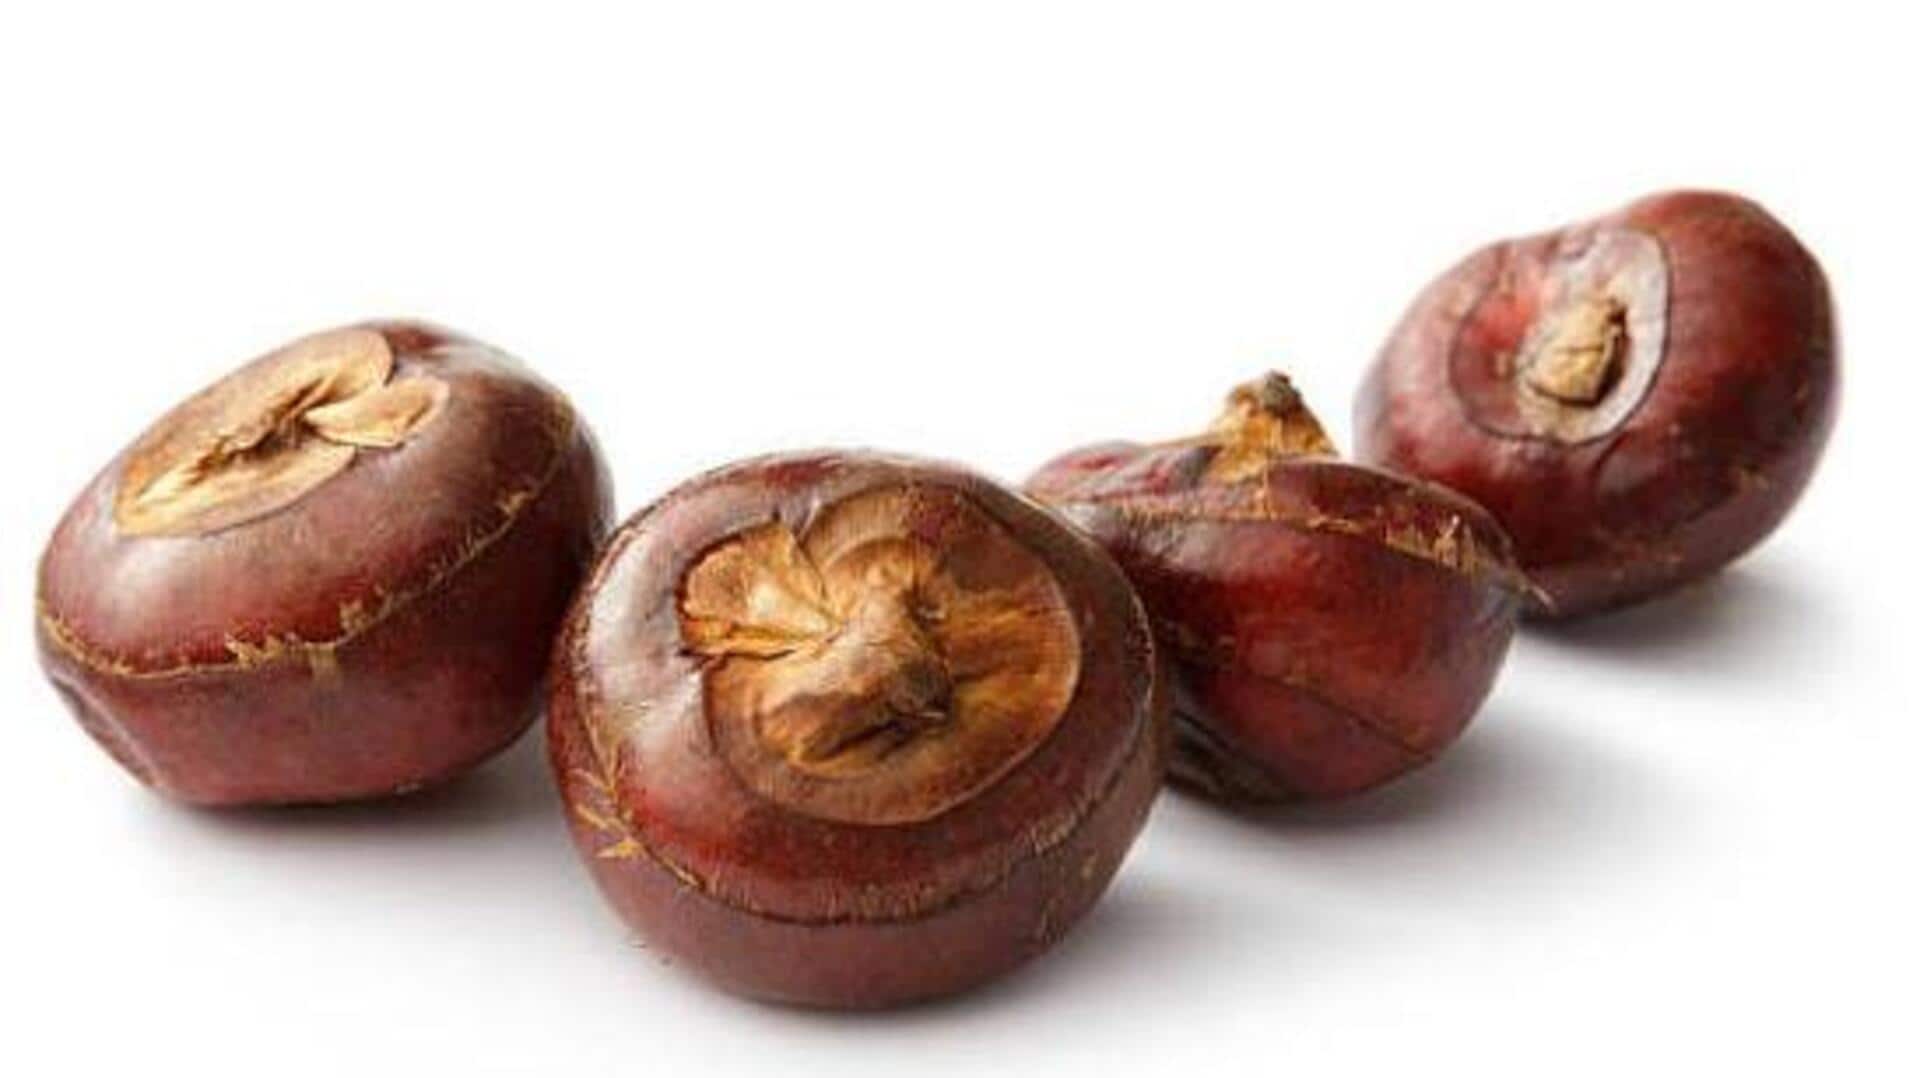
How to grow water chestnuts indoors
What's the story
Water chestnuts are a versatile, crunchy ingredient in many cuisines. Growing them in containers is an easy way to enjoy fresh produce at home. This method is perfect for those with limited space or poor soil conditions. With the right container and care, you can grow water chestnuts successfully, even in small areas. Here are some practical tips to help you get started with container gardening water chestnuts.
Tip 1
Choosing the right container
Selecting an appropriate container is crucial for growing water chestnuts.
A large, wide container is ideal, as it allows enough space for the plants' root systems to develop.
A depth of at least 12 inches is recommended to accommodate their growth.
Ensure that the container has drainage holes to prevent waterlogging, which can damage the plants.
Tip 2
Preparing the growing medium
The growing medium should be rich in organic matter and retain moisture well.
A mixture of potting soil, compost, and sand works best. This combination provides essential nutrients while ensuring good drainage.
Fill the container with this mixture up to about three inches from the top, leaving enough space for water.
Tip 3
Planting water chestnut seeds
Plant water chestnut seeds in late spring or early summer when temperatures are consistently warm.
Submerge each seed about two inches deep into the prepared soil mixture within your container.
Space them evenly across the surface so that each plant has room to grow without overcrowding.
Tip 4
Maintaining optimal growing conditions
Water chestnuts require consistent moisture levels; therefore, keep your container filled with water up to its rim at all times during their growing season.
Place your container in a sunny location where it receives at least six hours of sunlight daily.
Monitor plants regularly for any signs of pests or diseases, and address issues promptly if they arise.