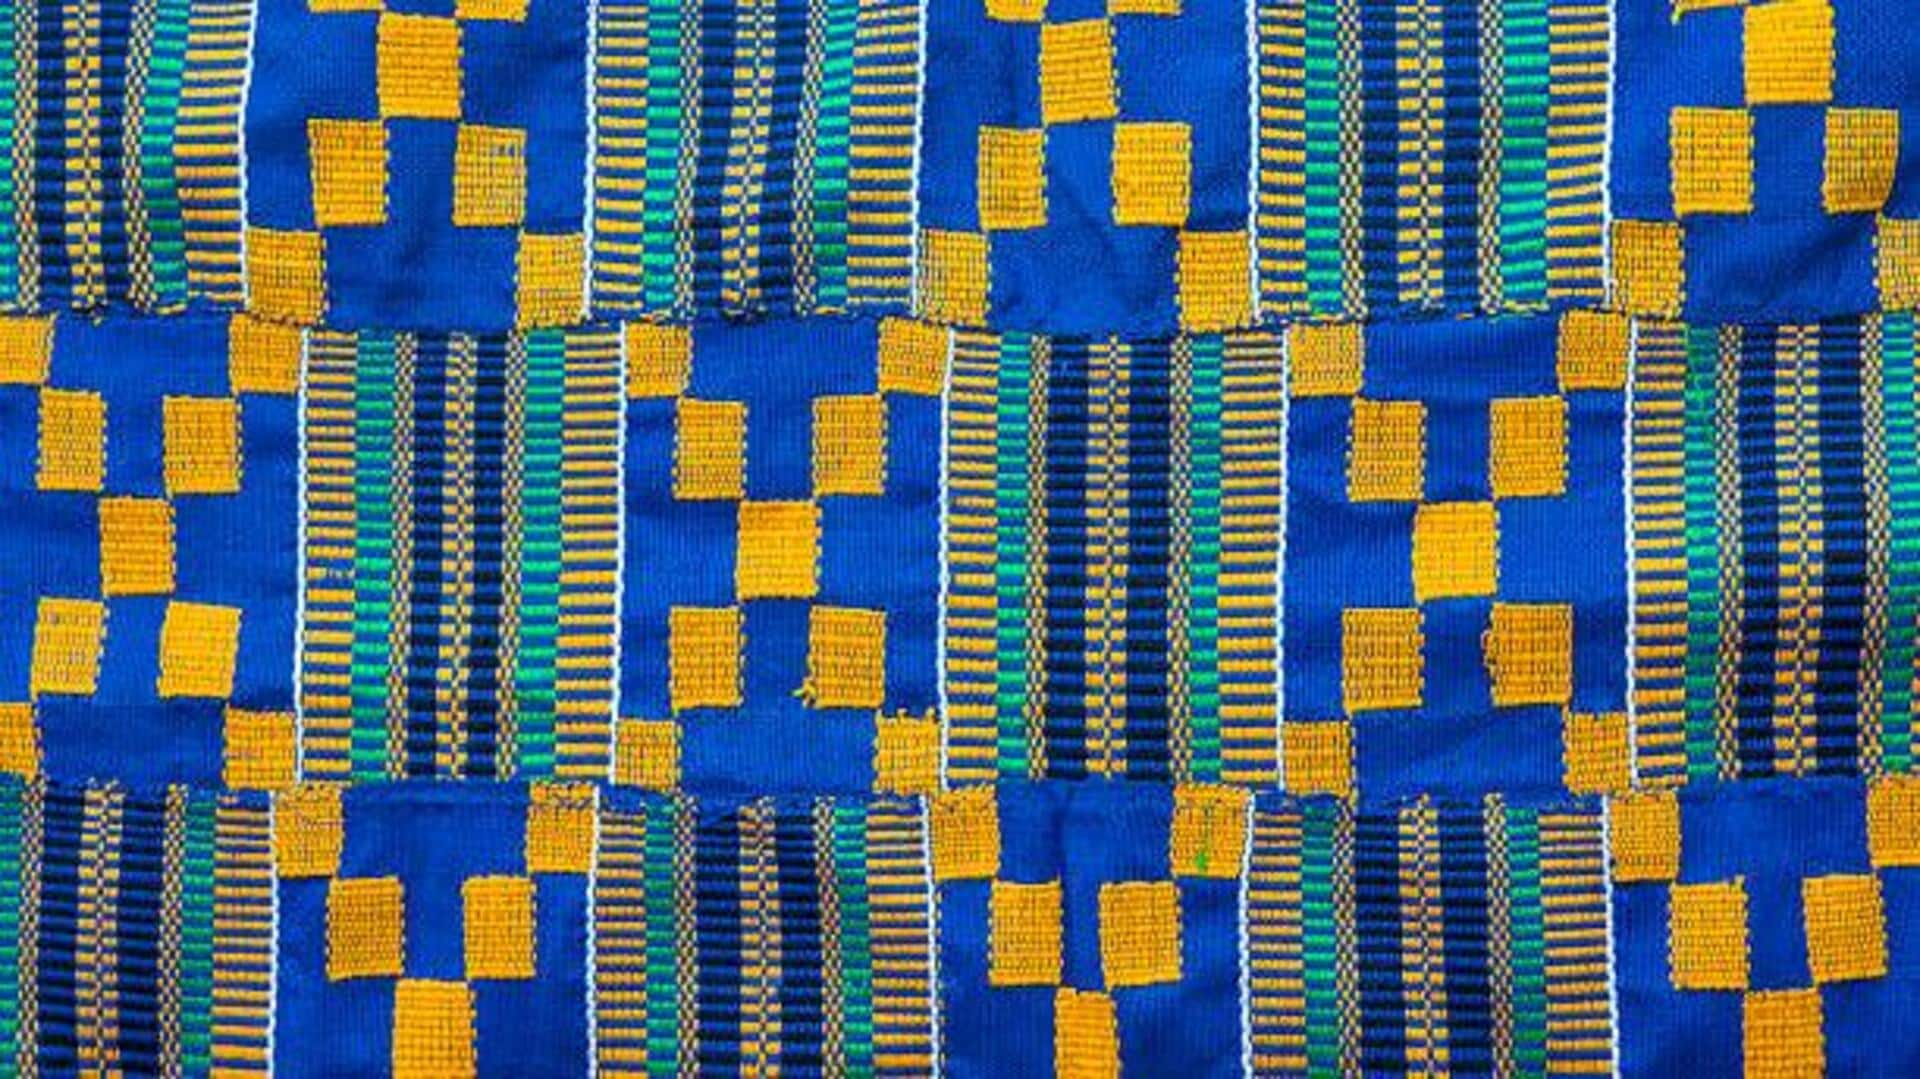
DIY: How to make Kente paper quilts
What's the story
African Kente paper quilts are a beautiful and creative way to experience the rich textile traditions of Africa. Using simple materials, you can create colorful quilts that reflect the vibrant patterns of Kente cloth. The process involves cutting and arranging paper in a way that mimics the intricate designs of traditional Kente textiles. This DIY project is both educational and artistic, allowing you to explore cultural heritage while developing crafting skills.
Materials list
Gather your materials
To start with, gather all the necessary materials. You will need colored paper in various hues, scissors, glue or adhesive tape, a ruler, and a cutting mat. The colored paper should ideally resemble the shades used in authentic Kente cloths, such as red, green, yellow, and blue. A clean workspace will help keep your project organized.
Pattern planning
Design your pattern
Before you start cutting, plan your design on paper. Kente patterns usually have geometric shapes like squares and triangles arranged in repeating sequences. Decide on the pattern you want to replicate or create your own unique design by mixing different shapes. Sketching the layout beforehand will help you visualize how each piece fits into the overall quilt.
Cutting technique
Cut your paper pieces
Once your design is ready, start cutting the colored papers into the desired shapes according to your pattern plan. Use a ruler to make straight edges for uniformity. Make sure each piece is proportional to the others so that they fit together seamlessly when assembled. Be careful while cutting to avoid any mistakes that could affect the final look of your quilt.
Assembly process
Assemble your quilt pieces
After cutting all the pieces, it's time to assemble them according to your planned layout. Start by laying out all pieces on a flat surface before gluing them down onto larger sheets of plain paper or cardstock, which will serve as the base of your quilt. Use glue or adhesive tape sparingly, so as not to warp the paper.
Final adjustments
Add finishing touches
Once all pieces are glued down securely, let them dry completely before handling too much. Consider adding borders around each section with thin strips of contrasting colors for added visual interest. If desired, you can also frame the finished product, displaying it proudly as a testament to your creativity and craftsmanship.