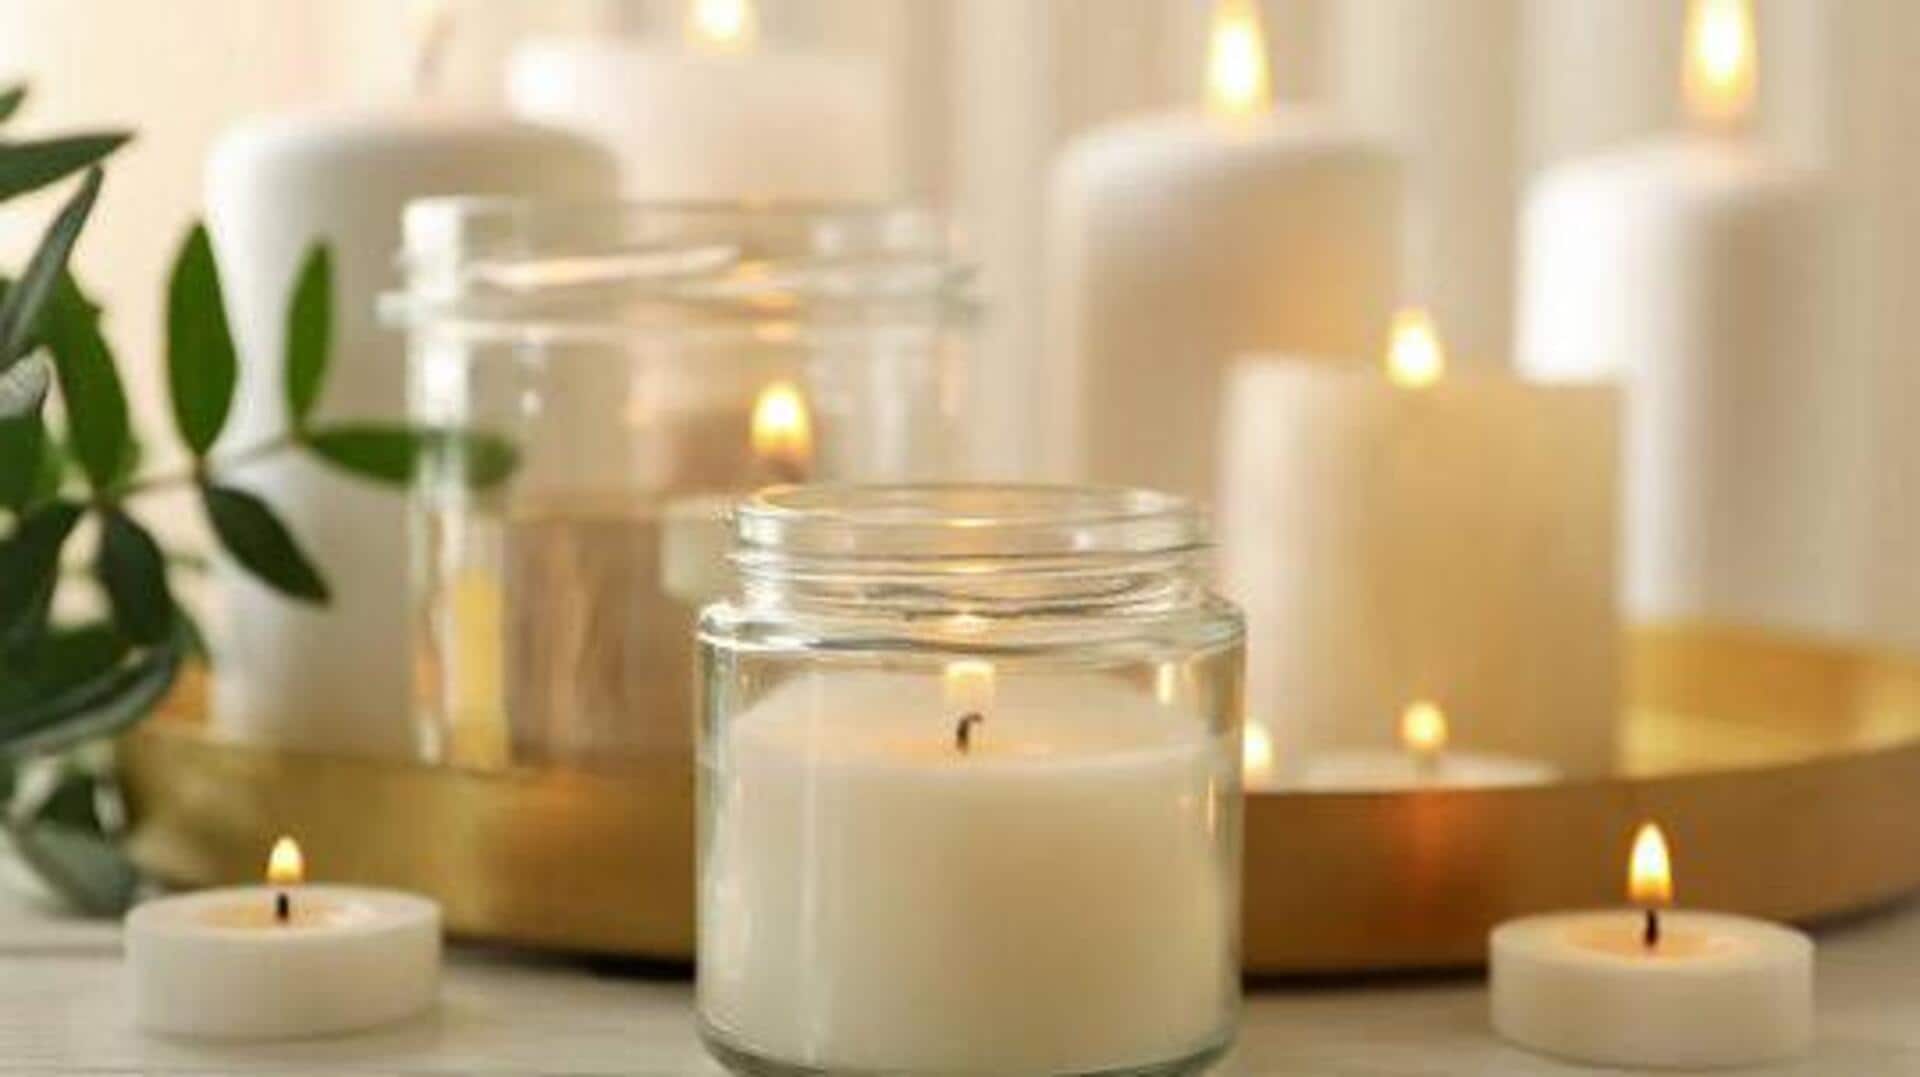
How to make scented candles at home
What's the story
Creating scented candles at home can be an enjoyable and cost-effective way to add a personal touch to your living space. With just a few materials and some basic steps, you can craft candles that fill your home with delightful aromas. This guide will walk you through the essentials of making scented candles, providing insights into the materials needed, the process involved, and tips for achieving the best results.
Materials needed
Gather essential materials
To start making scented candles, you need wax (paraffin or soy), wicks, fragrance oils, and dye (optional).
You also need a double boiler or microwave-safe container for melting wax, a thermometer to check temperatures, and molds or jars for shaping candles.
These materials are easily available online or at craft stores.
Wax melting process
Melting the wax safely
Start by melting the wax using a double boiler to avoid direct heat.
If using a microwave, melt in short intervals to avoid overheating.
The ideal melting temperature is between 70 degrees Celsius and 80 degrees Celsius.
Once melted, you can add dye if you want, before proceeding to the next step.
Fragrance incorporation
Adding fragrance effectively
Once your wax is melted, it's time to add fragrance oils for that aromatic touch.
The amount of fragrance oil you add can vary, but a good rule of thumb is to use about 6% to 8% of the total weight of the wax. This ensures that your candles have a noticeable, yet not overpowering, scent when lit.
Mixing the fragrance oils thoroughly into the wax ensures an even distribution, giving your candles a consistent aroma when burned.
Wick placement technique
Securing wicks properly
To ensure your candle burns evenly, it is important to secure the wick properly.
Attach it to the bottom of your jar or mold with a bit of melted wax or adhesive putty.
Once secured, pour in the melted wax carefully to avoid disturbing the wick's position.
This step is crucial for achieving a balanced burn and preventing the wick from shifting during the cooling process.
Candle pouring tips
Pouring and cooling candles
Carefully pour melted wax into prepared containers, leaving some space at the top.
Allow candles to cool completely before trimming wicks to about one centimeter above the surface level.
This ensures optimal burning conditions for future use.