String art 101: Turning simple patterns into stunning visuals
What's the story
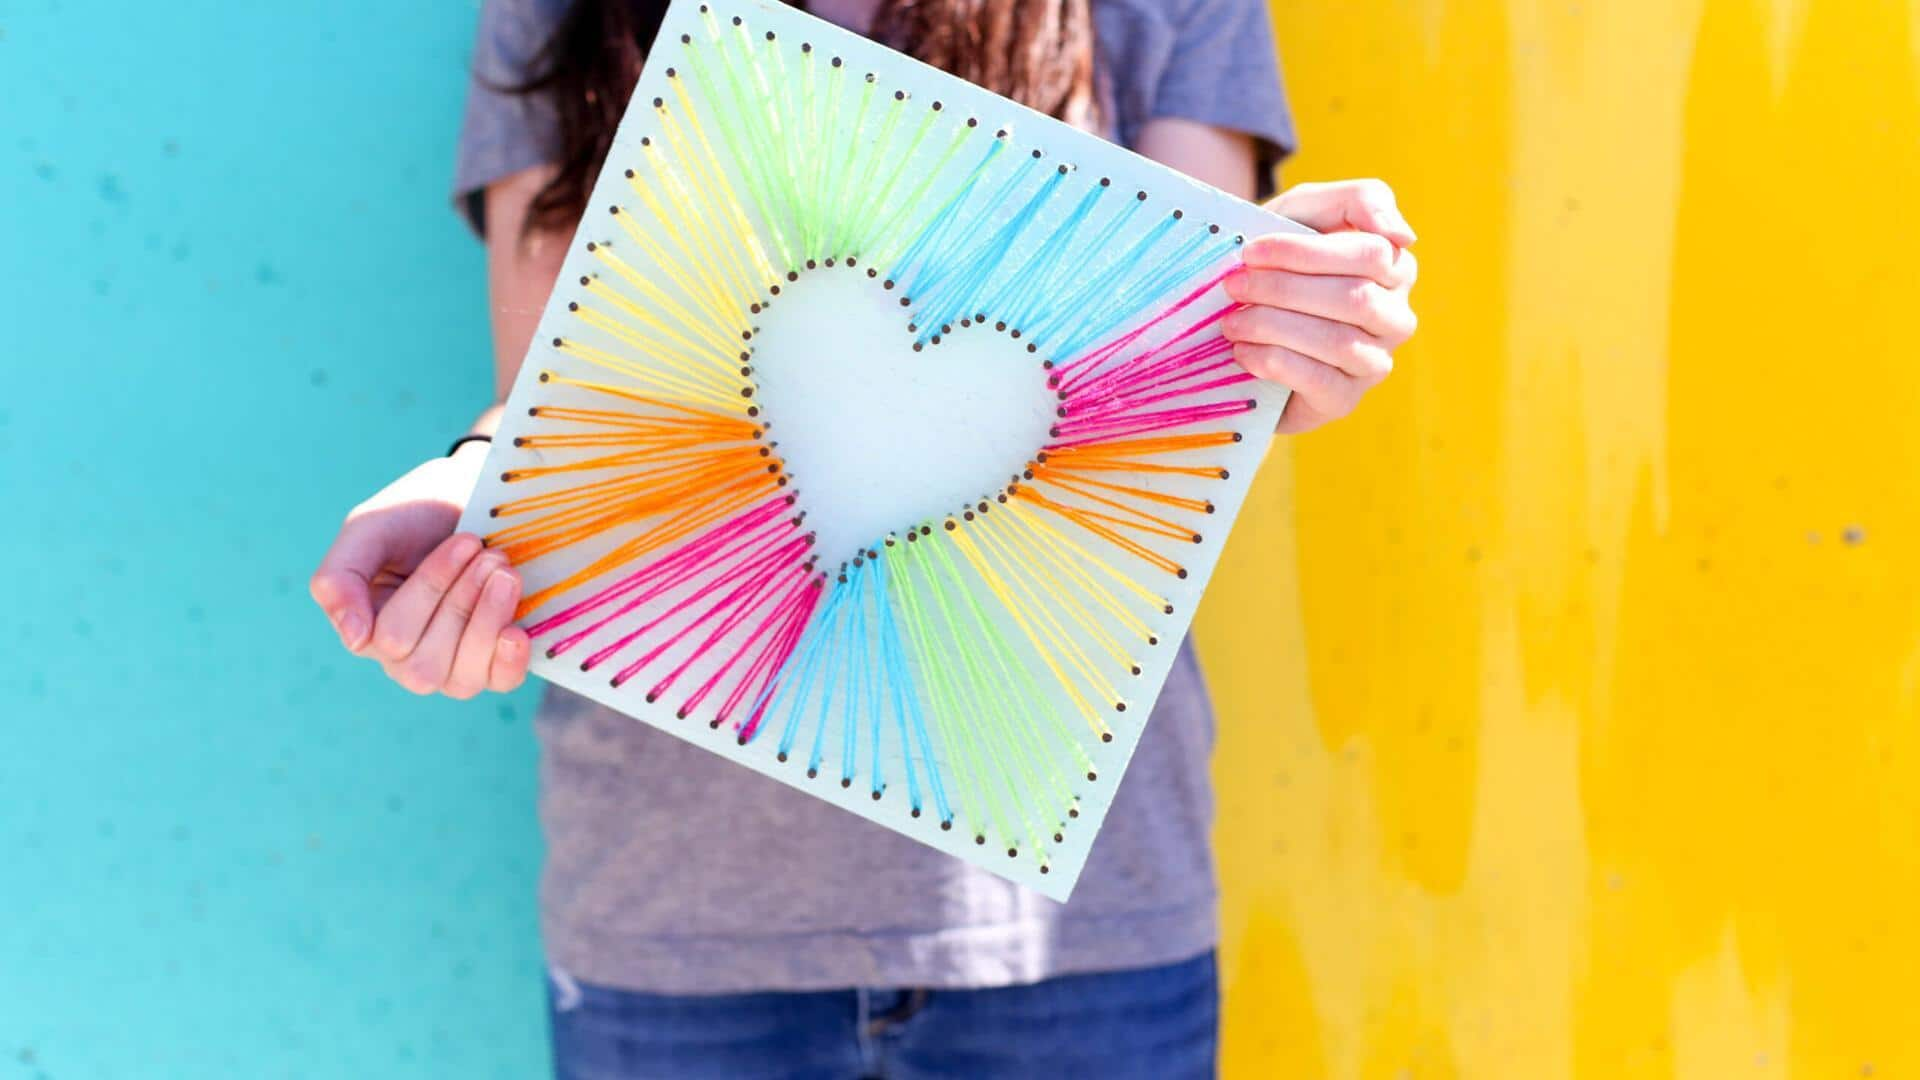
String art is basically weaving string between nails on a wooden board to create patterns ranging from simple shapes to intricate images. It's an easy to pick-up hobby that requires very little materials, providing a satisfying creative outlet. Ideal for beginners and seasoned artists alike, it's a one-of-a-kind way to get into design and pattern exploration.
Material selection
Choosing the right materials
Selecting the right materials is the key to successful string art projects. Start off with a sturdy wooden board as your base. Go for nails with flat heads so that they hold the string properly. Cotton or embroidery thread is good as it's strong and available in a variety of colors. Keep a hammer, scissors and tape measure handy for precise work.
Design preparation
Planning your design
Before you start your project, plan your design well. Sketch it out on paper or use software tools for more complex patterns. Decide where each nail will be placed by marking points on the board lightly with a pencil. Consider symmetry and balance in your design to achieve aesthetically pleasing results.
Pattern techniques
Techniques for stringing patterns
There are several techniques in string art that can take your designs to the next level. The most used method is to wrap the thread around nails in specific sequences to create shapes like circles or triangles. You can experiment with different wrapping styles, such as zigzagging or layering threads of different colors, for added depth.
Beginner tips
Tips for beginners
For beginners in string art, it's best to start with simpler designs, such as basic geometric shapes, before progressing to complex patterns. Maintain consistent tension while wrapping the thread around the nails to prevent sagging lines or uneven sections in your artwork. Be patient, as precision is the key to get clean lines and a professional-looking outcome.