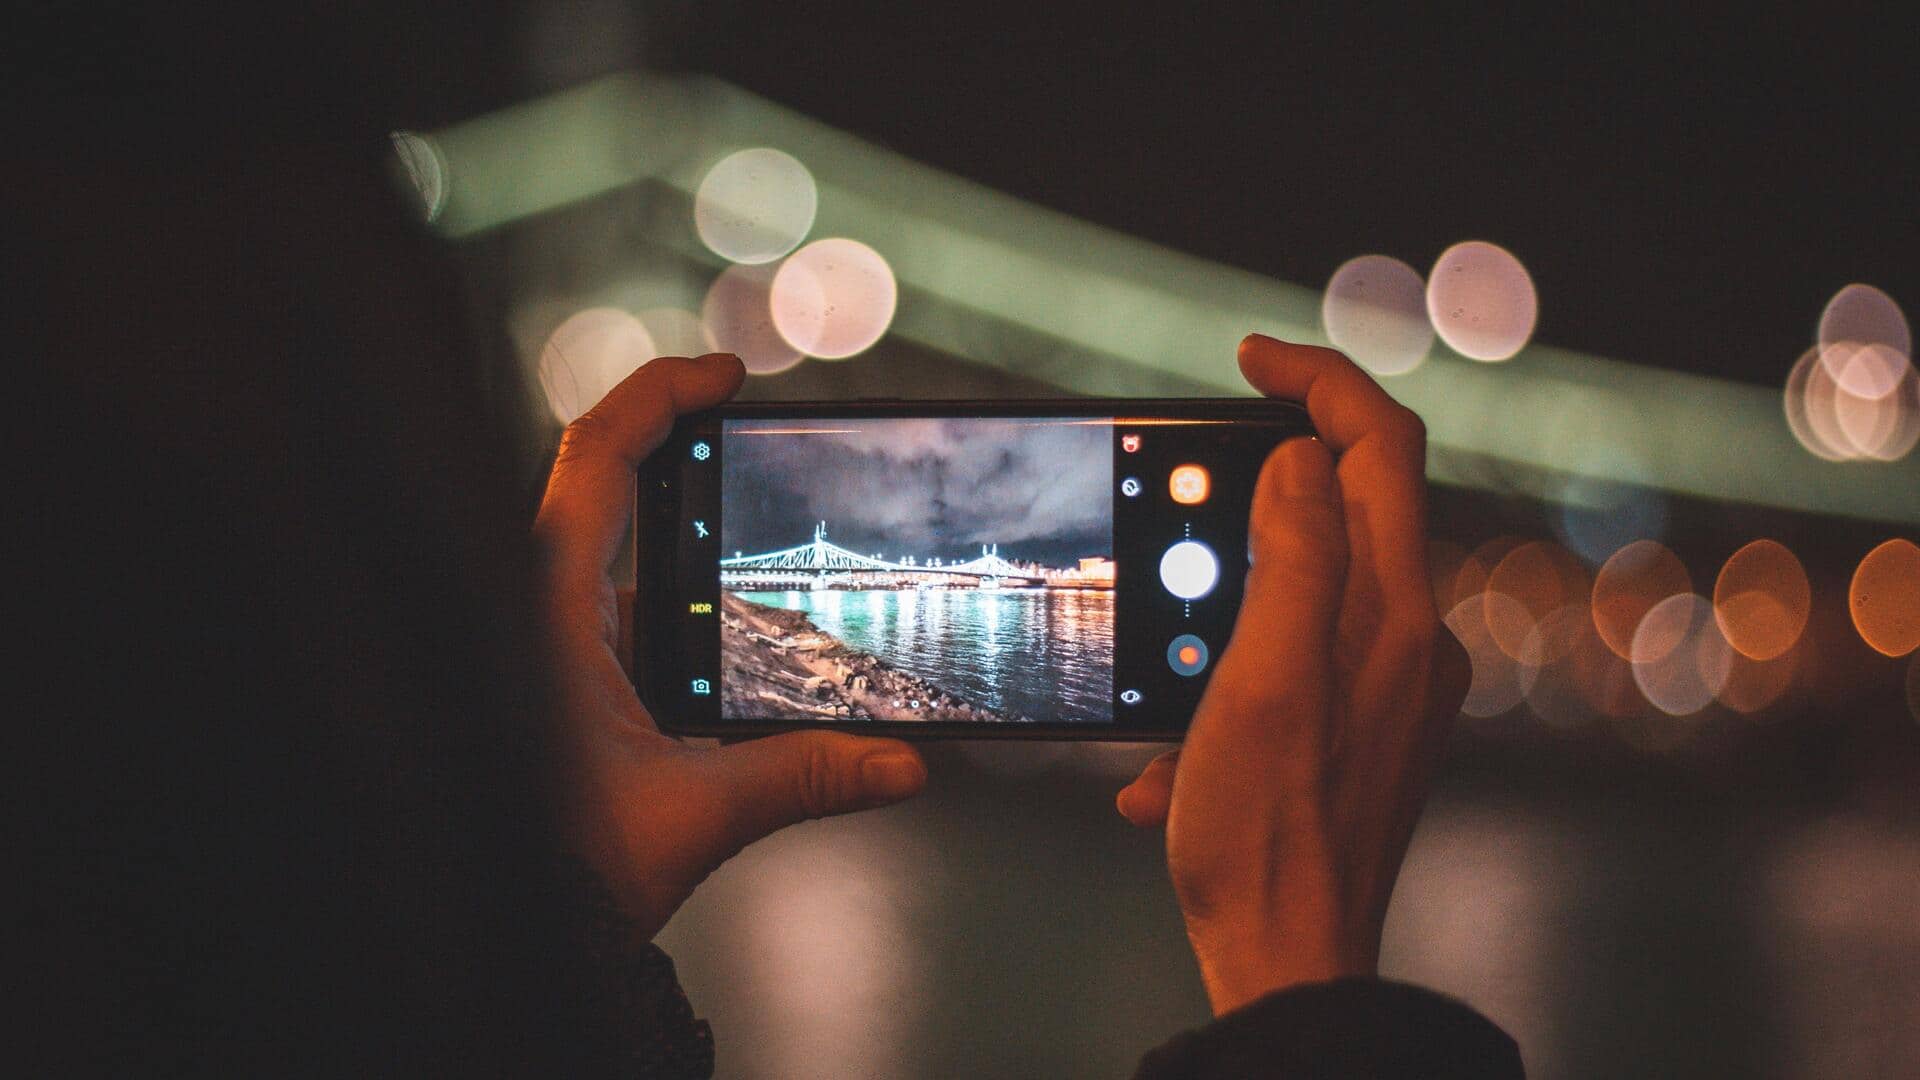
How to make your phone's night shots better
What's the story
Smartphone cameras have come a long way, but they still have some limitations, especially when it comes to low-light photography. However, adjusting certain settings can significantly improve your nighttime photos. By tweaking these settings, you can capture clearer and more vibrant images even in low light. Here are five essential smartphone camera settings that can help you take better nighttime photos.
Tip 1
Adjust exposure settings
Adjusting exposure settings is critical for low-light photography.
Increasing the exposure time allows more light to hit the sensor, brightening up your images.
However, be careful, as too much exposure can cause blurriness due to movement.
A good balance is key; try different exposure times to see what works best for your environment.
Tip 2
Use night mode features
Most modern smartphones come with a dedicated night mode feature, which is specifically designed for low-light conditions.
This mode usually uses longer exposure times, and advanced algorithms to improve brightness and detail without increasing noise.
If your phone has this feature, make sure to use it when shooting in low light.
Tip 3
Enable HDR mode
High Dynamic Range (HDR) mode captures multiple images at different exposures and combines them into one photo with better detail in both shadows and highlights.
This is particularly useful in low-light situations where there are bright and dark areas in the frame.
Enabling HDR can make your nighttime photos look more balanced and detailed.
Tip 4
Adjust ISO settings
ISO sensitivity controls how much light is required for the camera sensor to capture an image.
A higher ISO setting makes the sensor more sensitive to light, which helps in low-light conditions, but may also introduce noise or graininess into the photos.
Experimenting with different ISO levels can help you find an optimal setting that minimizes noise while still capturing enough light.
Tip 5
Focus manually for clarity
In low-light conditions, automatic focusing may struggle, resulting in blurry images or missed focus altogether.
Manually adjusting focus gives you more control over what part of the scene is sharpest.
This is especially useful when shooting subjects at varying distances, or when there are complex lighting situations involved.