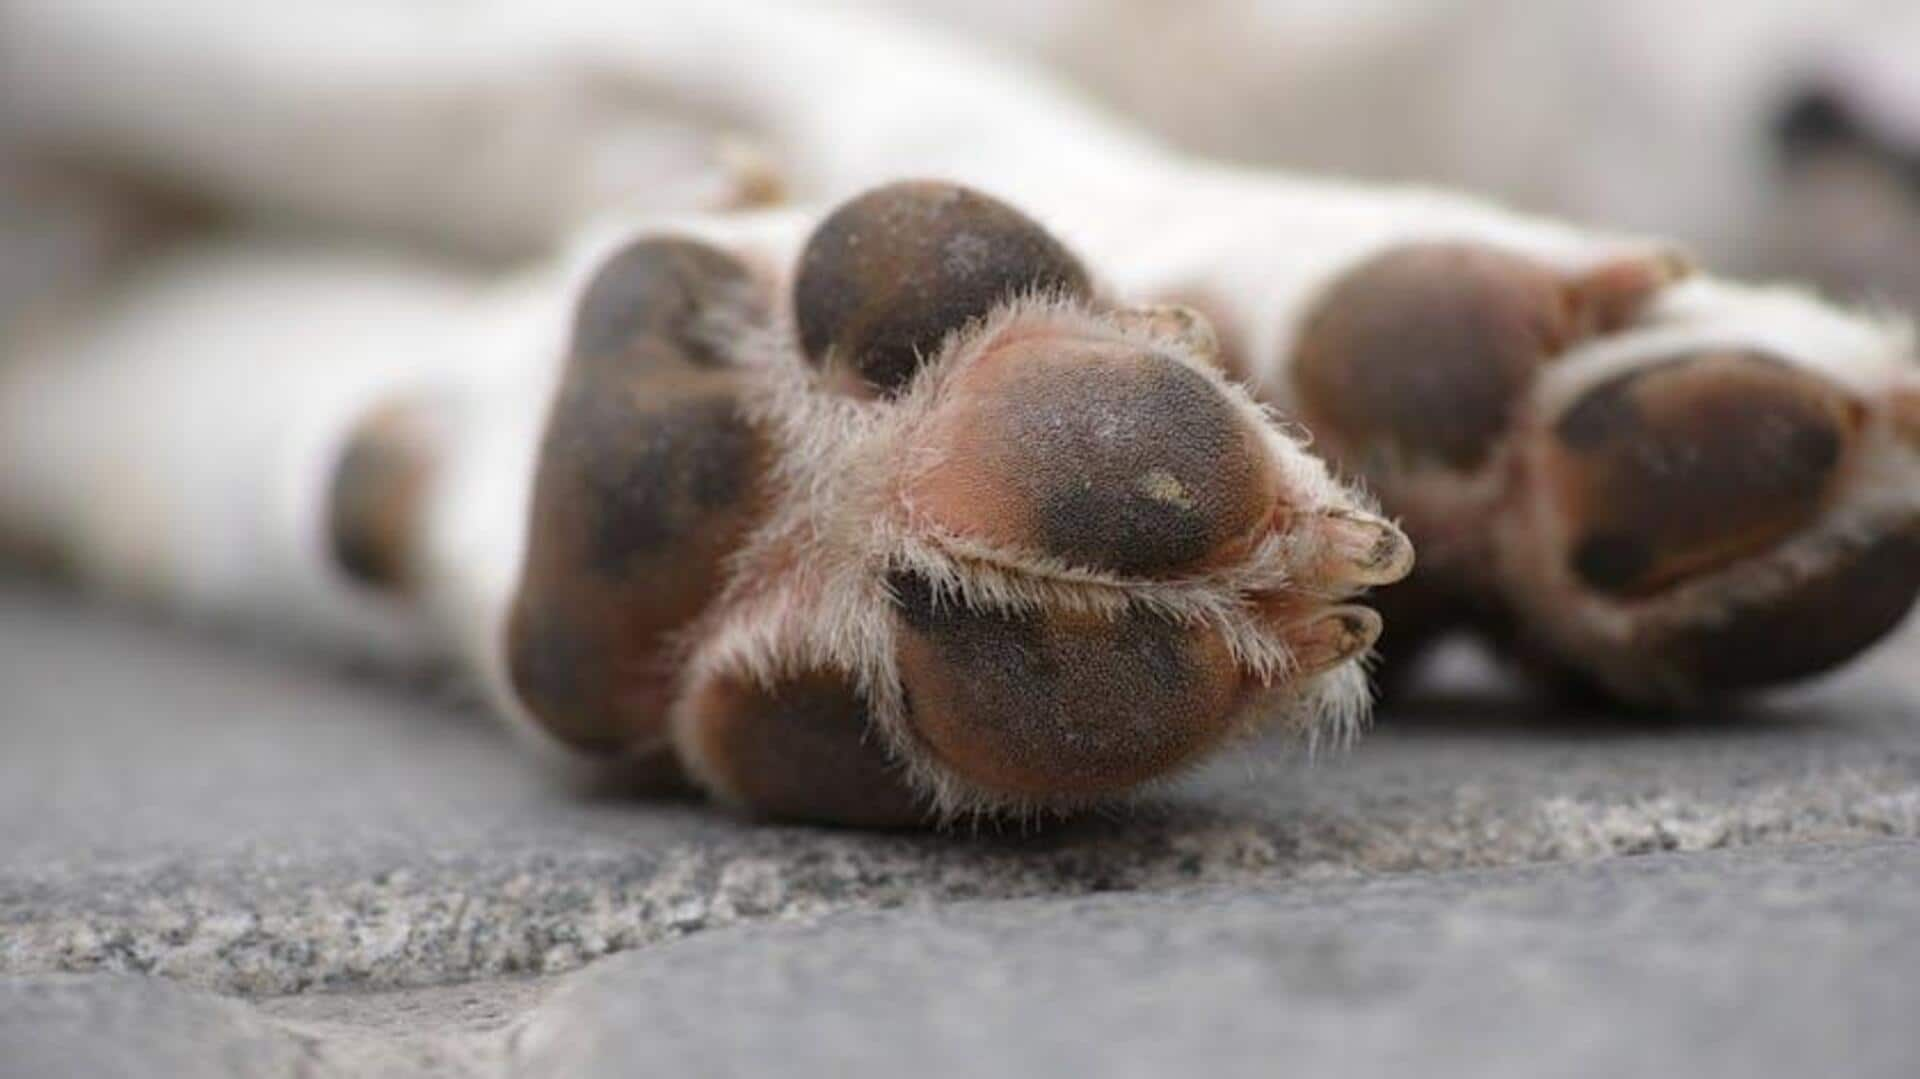
How to keep your dog's paws clean at home
What's the story
Keeping your dog's paws clean can be difficult, especially during rains or muddy seasons. A DIY dog paw cleaner comes in handy to prevent dirt from getting into your home. This simple project requires just a few materials and can be customized according to your pet's needs. By making a paw cleaner at home, you can save money and keep your furry friend's paws always clean and healthy.
Tip 1
Gather essential materials
To make a DIY dog paw cleaner, start with essential materials. You will need a plastic container with a lid, soft bristle brushes or sponges, and mild soap or pet-safe shampoo. The container should be large enough for your dog's paw to fit comfortably inside. The brushes/sponges should be gentle on your pet's skin to avoid irritation.
Tip 2
Assemble the cleaner
Once you have all the materials, it's time to assemble the cleaner. Cut holes in the lid of the container for inserting brushes or sponges around its perimeter. Secure them in place using waterproof adhesive or glue. Fill the container with water mixed with mild soap or shampoo up to the halfway mark so that it covers only part of their paws when dipped inside.
Tip 3
Introduce your dog gradually
Introducing your dog slowly to this new cleaning routine is key to success. First, let them sniff and explore the cleaner sans any water. This helps alleviate anxiety of strange objects touching their feet later on. During actual use sessions, they dip paws into soapy solution-filled containers repeatedly until desired results are achieved every single time after, too!
Tip 4
Regular maintenance tips
Regular maintenance of your DIY dog paw cleaner is essential for its efficacy and hygiene. After every use, thoroughly rinse out any residue before putting it away. This keeps the cleaner ready for the next use, keeping your pet's paws clean and your home free from dirt and mud.