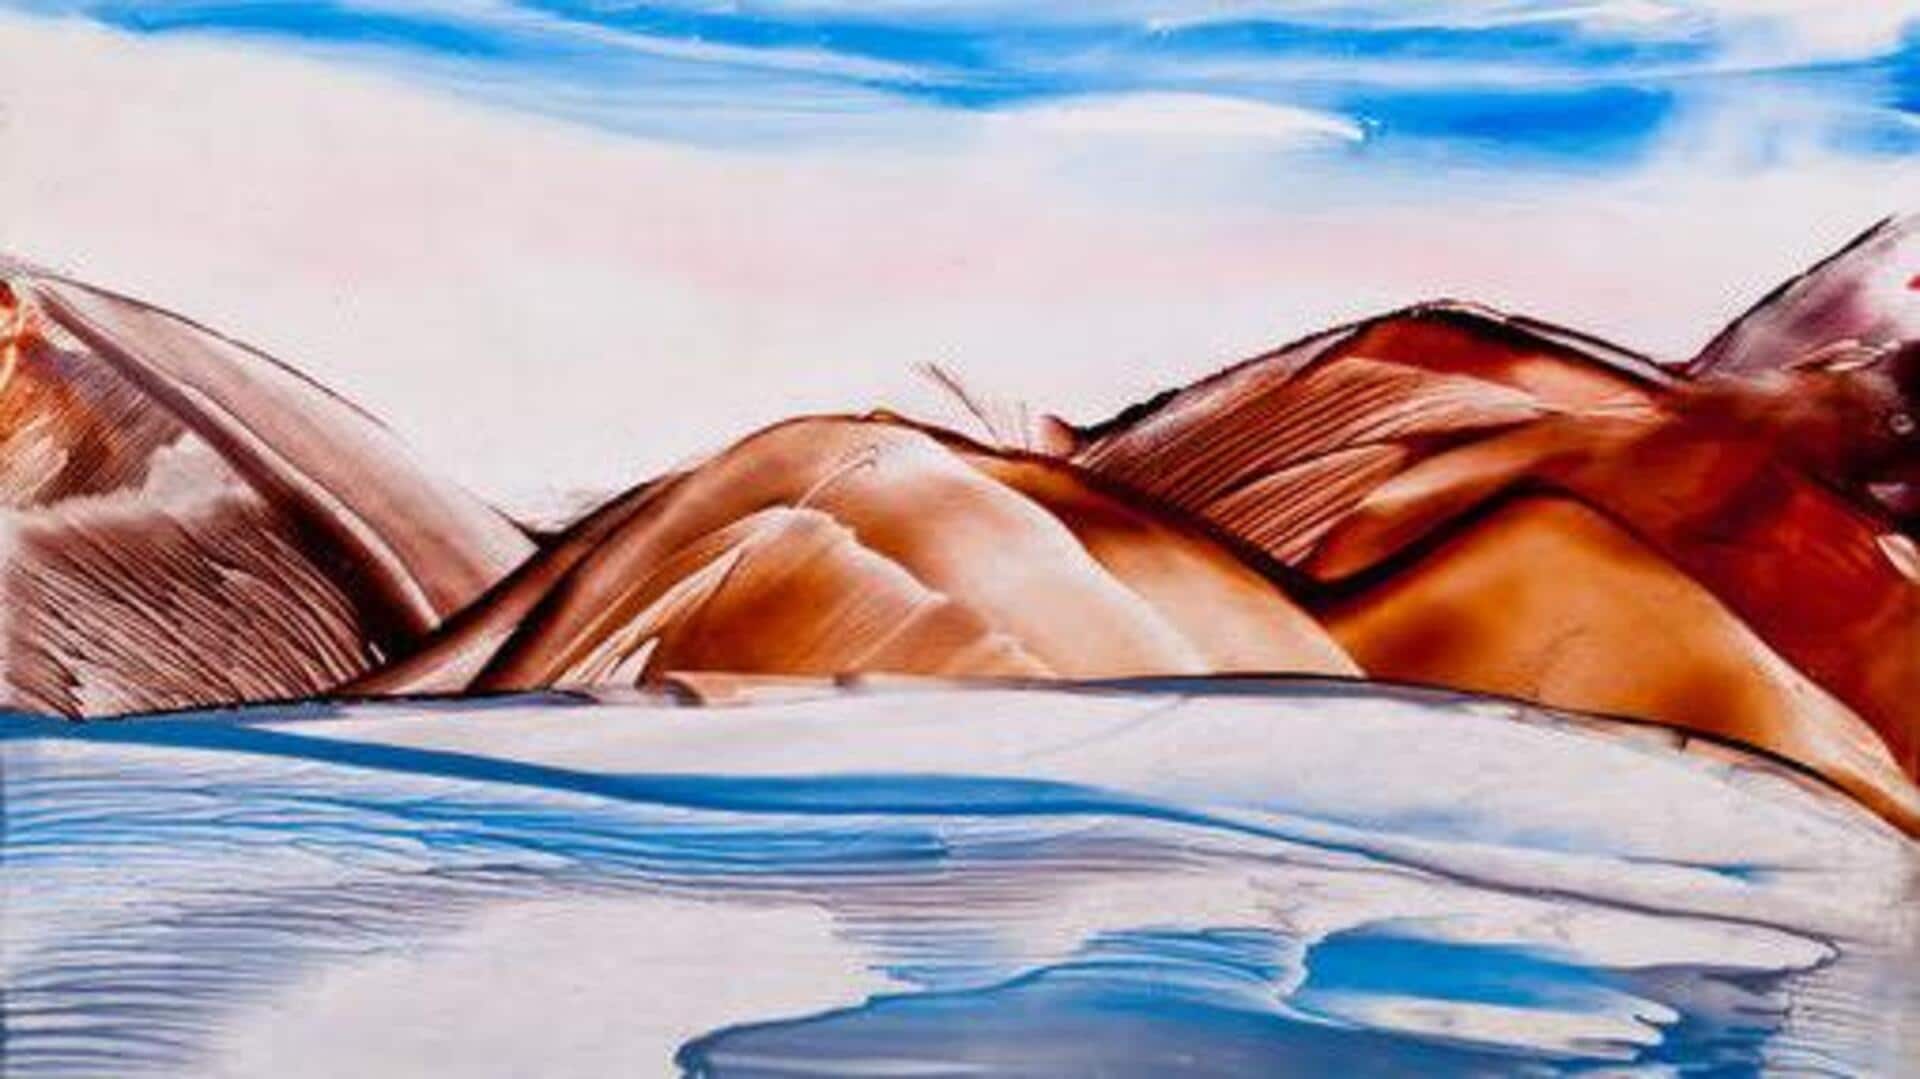
How to create stunning wax art on paper
What's the story
African batik art is famous for its vibrant colors and intricate patterns. The technique traditionally involves applying wax to fabric before dyeing it. However, you can also use beeswax to create stunning batik-like effects on paper. This method allows artists to explore new mediums while still enjoying the unique qualities of batik art. By using beeswax, you can achieve similar results as with fabric, but on a more accessible surface.
Materials
Gathering necessary materials
To start your paper batik project, you'll need some basic materials.
Get high-quality watercolor paper or any thick paper that can withstand water and dyeing processes.
You'll also need beeswax blocks or beads, a small brush for applying wax, and vibrant dyes or watercolors in shades similar to traditional batik colors.
A heat source, like an iron or heat gun, will be essential for melting the wax.
Patterning
Applying beeswax patterns
Start by sketching out your desired pattern lightly with pencil on the paper.
Once done, use the brush to apply beeswax over the areas you want to protect from dye absorption.
The wax should be applied evenly, so that it creates a barrier when dyed later.
Let the wax cool completely before proceeding to the next step.
Dyeing
Dyeing your artwork
After the beeswax has cooled, it is time to add color to your artwork.
Use watercolors or dyes in vibrant hues typical of African batik styles.
Apply these colors carefully around the areas protected by the beeswax, letting them blend naturally on the paper's surface.
Allow each layer of color to dry thoroughly before moving on.
Revealing
Revealing your design
Once all layers of dye have dried completely, use a heat source like an iron set on low heat, with parchment paper in between, to melt away any excess beeswax from your artwork's surface gently.
This reveals intricate patterns underneath while preserving vibrant colors above them, just like traditional fabric-based techniques would do!