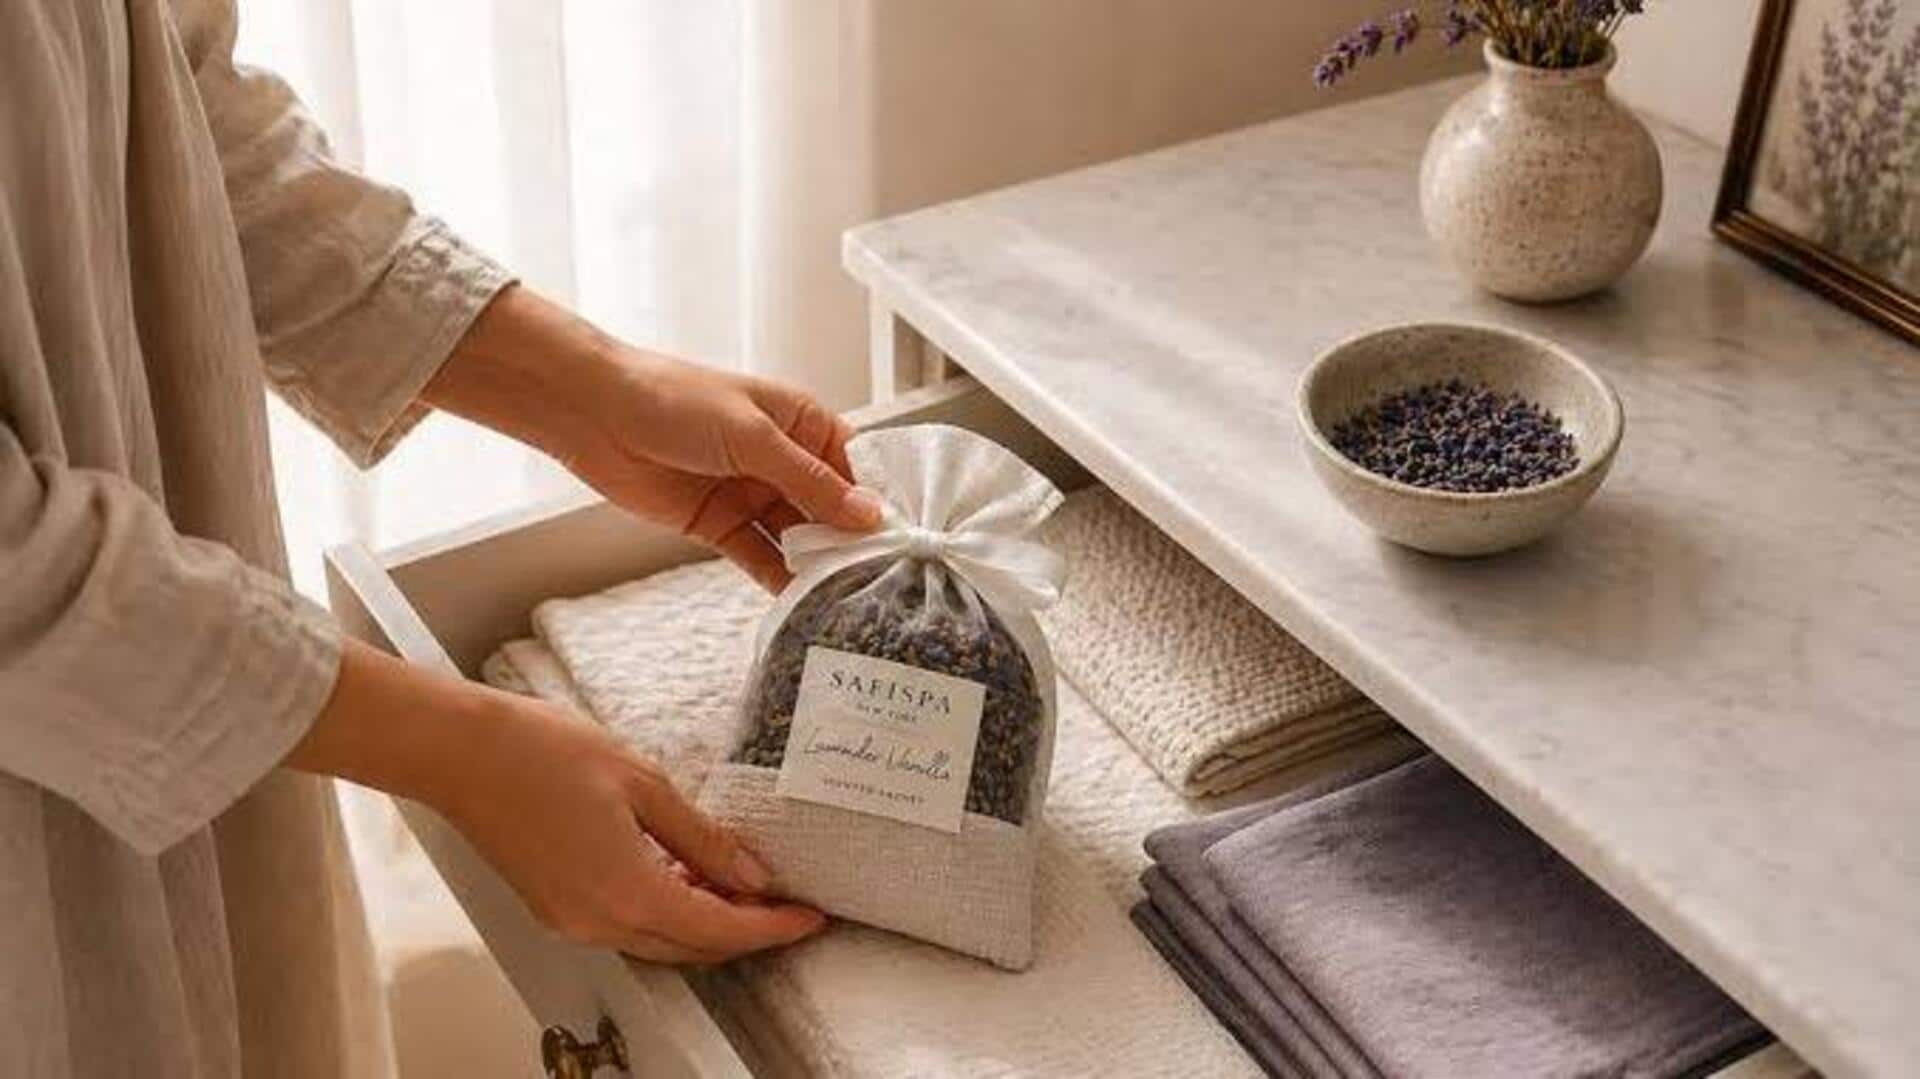
DIY: How to make aromatherapy bags
What's the story
Creating your own aromatherapy bags can be a fun and rewarding experience. These bags are not only easy to make, but also offer a natural way to relax and rejuvenate. By using essential oils and natural materials, you can craft personalized aromatherapy bags that suit your preferences. This guide provides simple steps to create these soothing bags, making it accessible for beginners.
Tip 1
Choosing the right materials
Selecting the right materials is key to making effective aromatherapy bags.
Go for cotton or linen fabric, as they are breathable and allow the scent to permeate easily.
You would also need dried herbs like lavender or chamomile, which are known for their calming properties.
Make sure that the herbs are organic to avoid any chemicals that may interfere with the therapeutic effects.
Tip 2
Selecting essential oils
Essential oils are the heart of any aromatherapy bag. Pick oils according to the mood you want to create.
Lavender is great for relaxation, while peppermint can energize you.
Mix different oils in small quantities to find out what works best for you.
Always use high-quality, pure essential oils for the best results.
Tip 3
Assembling your aromatherapy bag
Once you have your materials ready, start assembling your bag by cutting the fabric into desired shapes and sizes.
Fill each bag with a mixture of dried herbs and a few drops of essential oil.
Sew or tie the bags securely so that they do not spill out their contents during use.
Tip 4
Maintaining your aromatherapy bag's freshness
To keep your aromatherapy bag fresh, store it in a cool, dry place when not in use.
Replenish essential oils every few weeks by adding a few drops directly onto the herbs inside each bag.
This ensures that the scent remains potent over time, without compromising its effectiveness.