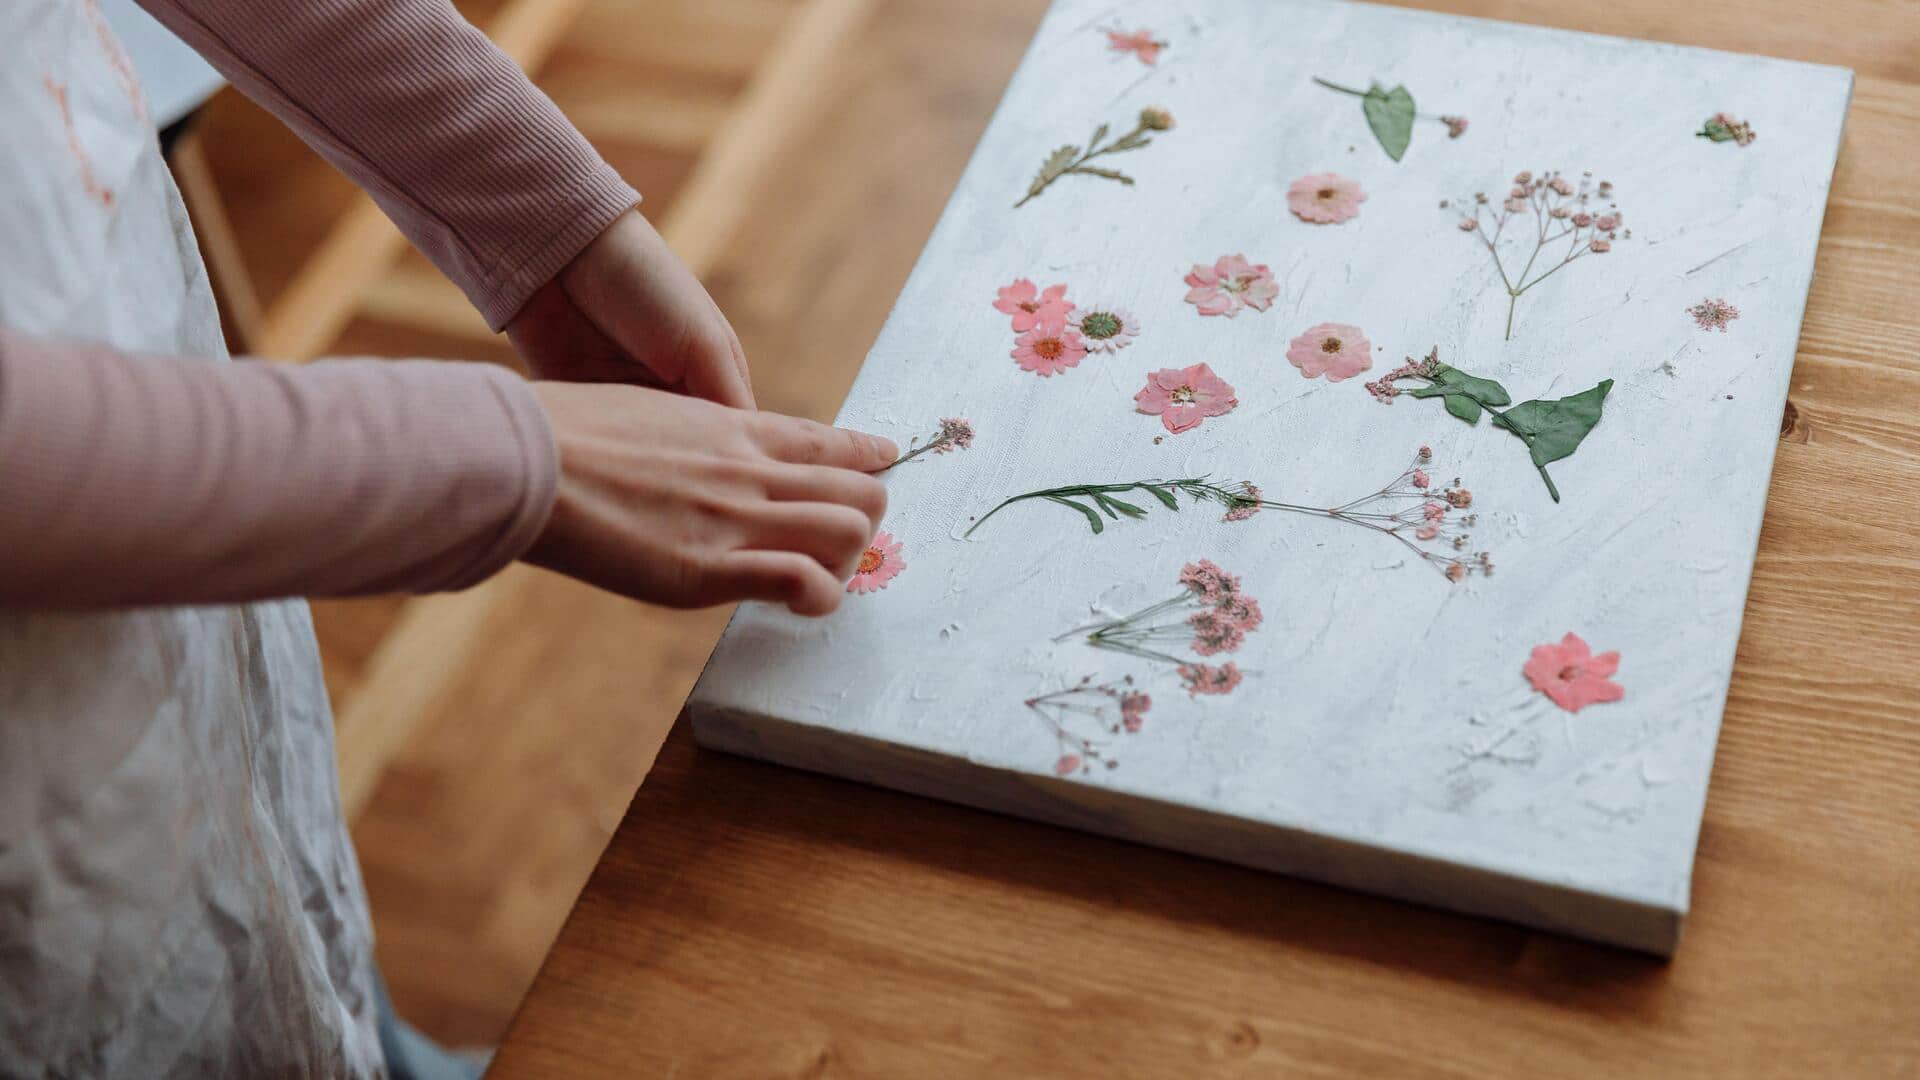
Turn fresh flowers into lasting keepsakes with these tips
What's the story
Flower pressing is a timeless craft that allows you to preserve the beauty of nature. This simple technique involves flattening flowers between sheets of paper to retain their shape and color. Whether you're a beginner or looking to refine your skills, understanding the basics can enhance your flower pressing experience. Here are some essential tips and tricks to help you get started and achieve beautiful results.
Tip 1
Choosing the right flowers
Selecting the right flowers is key to successful pressing.
Opt for flat, non-woody blooms like daisies, pansies, or violets. Steer clear of thick petals as they may not flatten properly.
Pick flowers in full bloom for best results. Avoid damp or wilted specimens as they may mold during the drying process.
Tip 2
Preparing flowers for pressing
Before pressing, remove any excess foliage from the stems.
Trim stems so that they fit comfortably between paper sheets without overlapping too much.
Arrange petals neatly to avoid distortion when flattened.
If necessary, use a small amount of water on petals before placing them between papers to maintain color vibrancy during drying.
Tip 3
Using proper materials
Use absorbent paper such as blotting paper or parchment paper for best results. These materials soak up moisture efficiently and prevent mold growth while preserving flowers.
Weigh down the flower arrangement with heavy books or weights to apply even pressure while drying.
Avoid using glossy papers as they may not absorb moisture effectively.
Tip 4
Drying time considerations
The time it takes for flowers to dry completely depends on their thickness and type of flower used.
Generally, allow at least two weeks for thorough drying under pressure at room temperature, away from direct sunlight, which can fade colors quickly over time if exposed to too much light during this period.