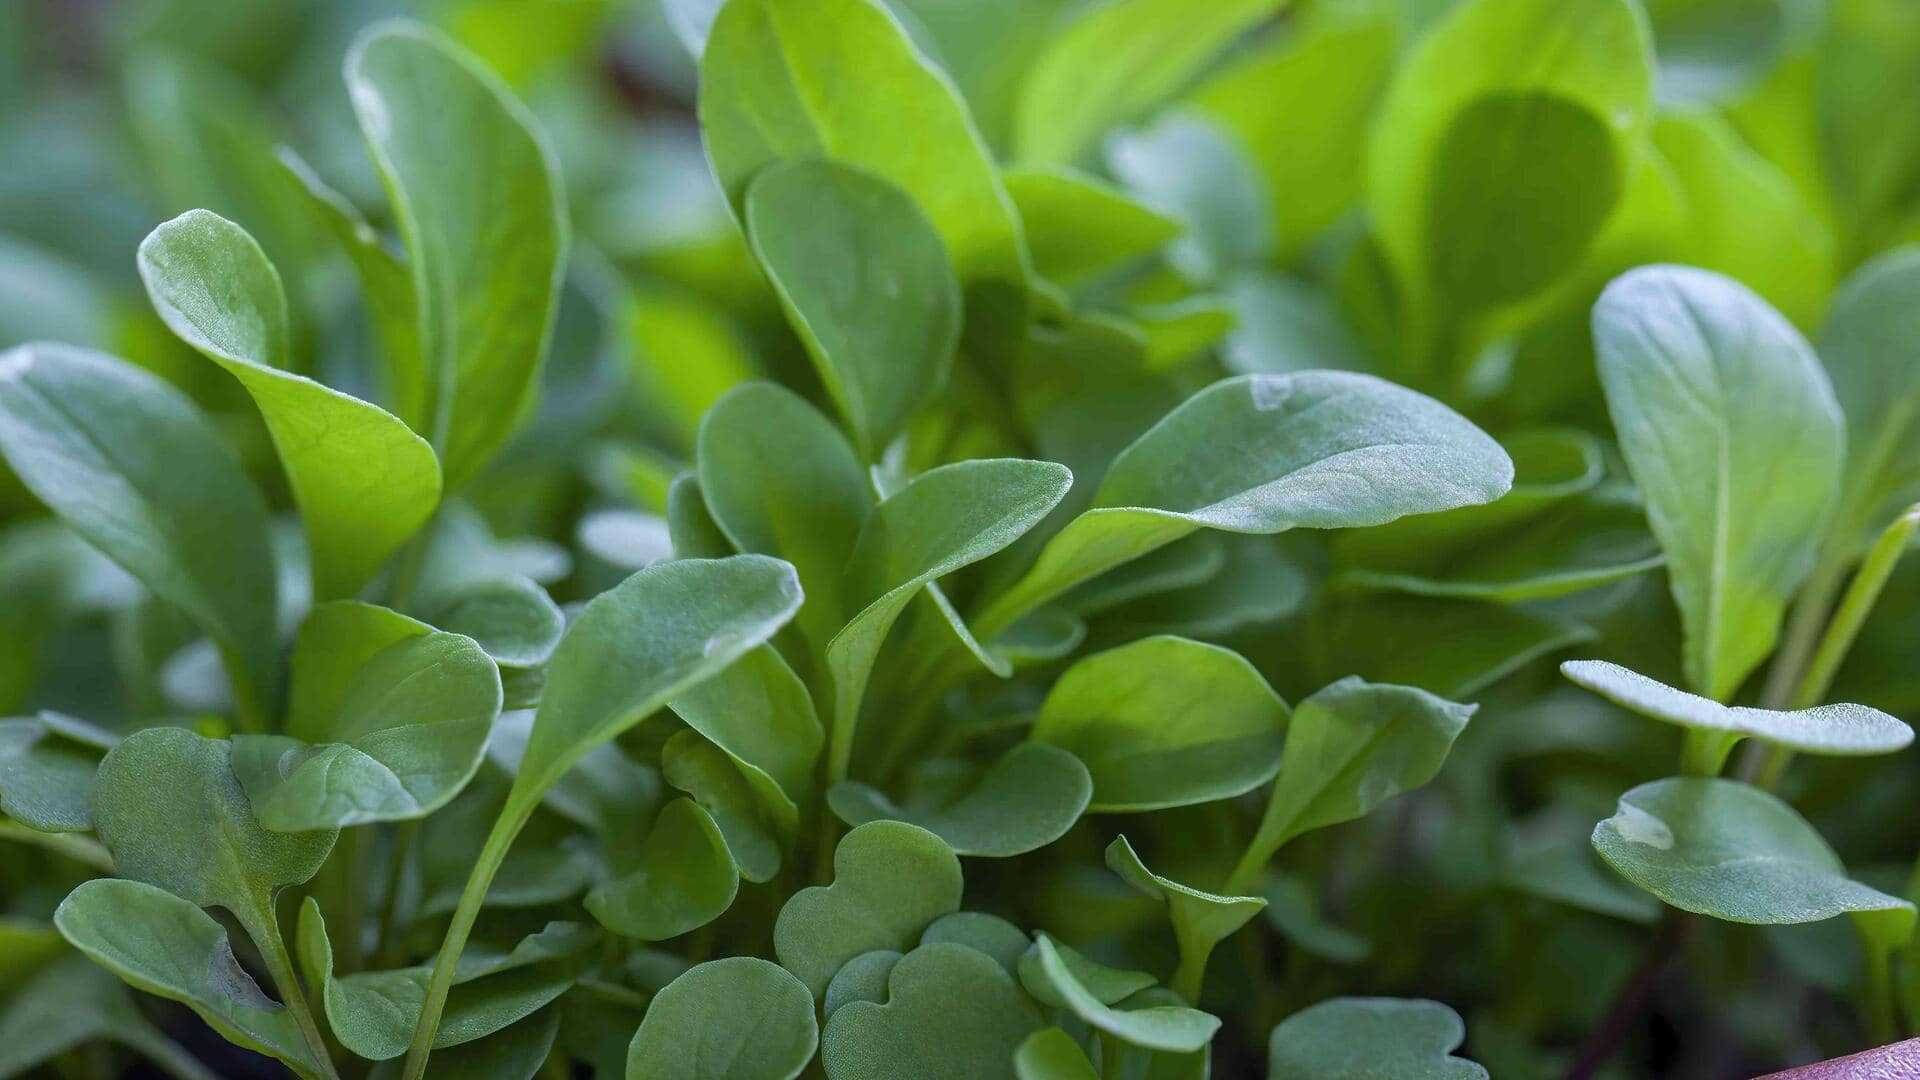
How to grow watercress at home
What's the story
If you're looking for a rewarding and easy home gardening project, growing watercress at home can be it. This leafy green is famous for its peppery flavor and health benefits. Under the right conditions, you can grow watercress at your garden or even indoors. Here's a guide with practical steps to get you a successful harvest of this versatile plant, and add to your homegrown produce.
Tip 1
Choosing the right location
Since watercress flourishes in wet conditions, choosing the right spot is key. Ideally, look for a place that gets partial sunlight and has access to fresh water. If you're growing indoors, try placing your watercress near a window where it can receive indirect sunlight. Keeping moisture levels consistent will allow the plant to grow healthily.
Tip 2
Preparing the soil or water medium
For soil-based cultivation, opt for rich organic soil that has good drainage properties. Alternatively, you can also grow watercress hydroponically by using containers filled with clean water and adding nutrients as required. Keeping a pH level between six and seven is important for optimal growth in both methods.
Tip 3
Planting watercress seeds or cuttings
You can either start growing watercress from seeds or cuttings. If starting with seeds, sow them directly into the prepared soil or place them on floating trays if using hydroponics. For cuttings, just submerge them partially in water until roots develop and then transfer them to their growing medium.
Tip 4
Regular maintenance and harvesting tips
Regularly check moisture levels and ensure that your plants aren't drying out; they should always remain damp but not submerged completely underwater unless grown hydroponically. Trim back any overgrown stems regularly to encourage new growth, while preventing overcrowding within your planting area, which could lead to disease issues later on down the line when harvesting time comes around again soon enough!