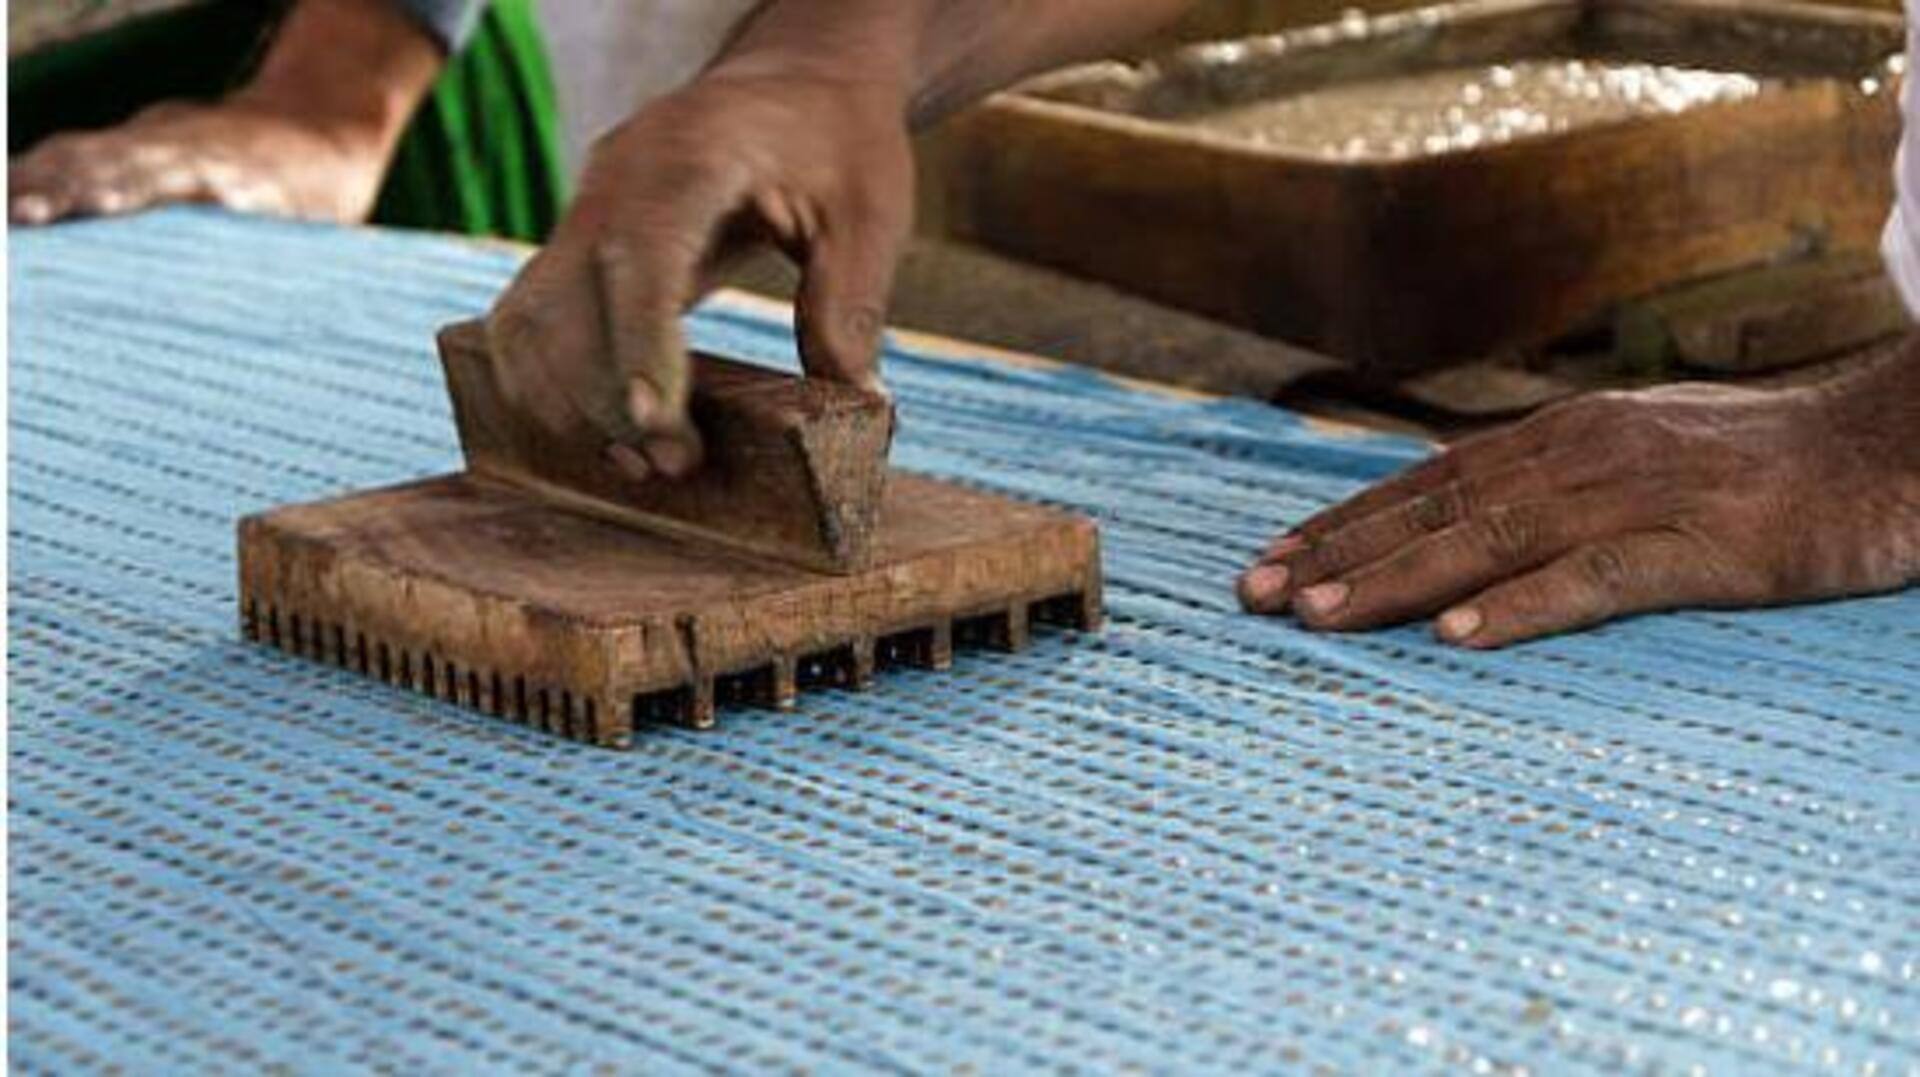
How to create beautiful prints with fabric stamps
What's the story
African fabric stamps provide an innovative and cost-effective way to add a cultural touch to your DIY projects. These stamps, made from vibrant and intricate patterns of African textiles, can be used to create unique designs on various surfaces. By making your own fabric stamps, you can explore creativity without spending a fortune. Here is how you can make these stamps at home and use them in your crafts.
Fabric selection
Choosing the right fabric
Choosing the right fabric is key to making effective stamps.
Look for fabrics with bold patterns and contrasting colors, as these will create more defined impressions.
Cotton and linen are good choices because of their durability and ease of use.
Make sure the fabric is clean and free from any embellishments that may interfere with the stamping process.
Base preparation
Preparing the stamp base
To create a sturdy base for your stamp, cut a piece of cardboard or foam to the desired size.
The base should be firm enough to hold its shape when pressed against a surface.
Attach the fabric securely using glue or tape, making sure there are no wrinkles or bubbles that could affect the print quality.
Paint application
Applying paint or ink
Once your stamp is ready, it's time to apply paint or ink. Use fabric paint or non-toxic ink for the best results.
Apply an even layer of paint on the fabric surface with a brush or roller, ensuring complete coverage, without excess paint pooling in the grooves of the pattern.
Technique testing
Testing your stamp technique
Before diving into your actual project, test your stamp on scrap paper or fabric first.
This will help you adjust pressure and paint application techniques without ruining your final piece.
Experiment with different pressures and angles until you achieve the desired effect before moving on to more significant projects.