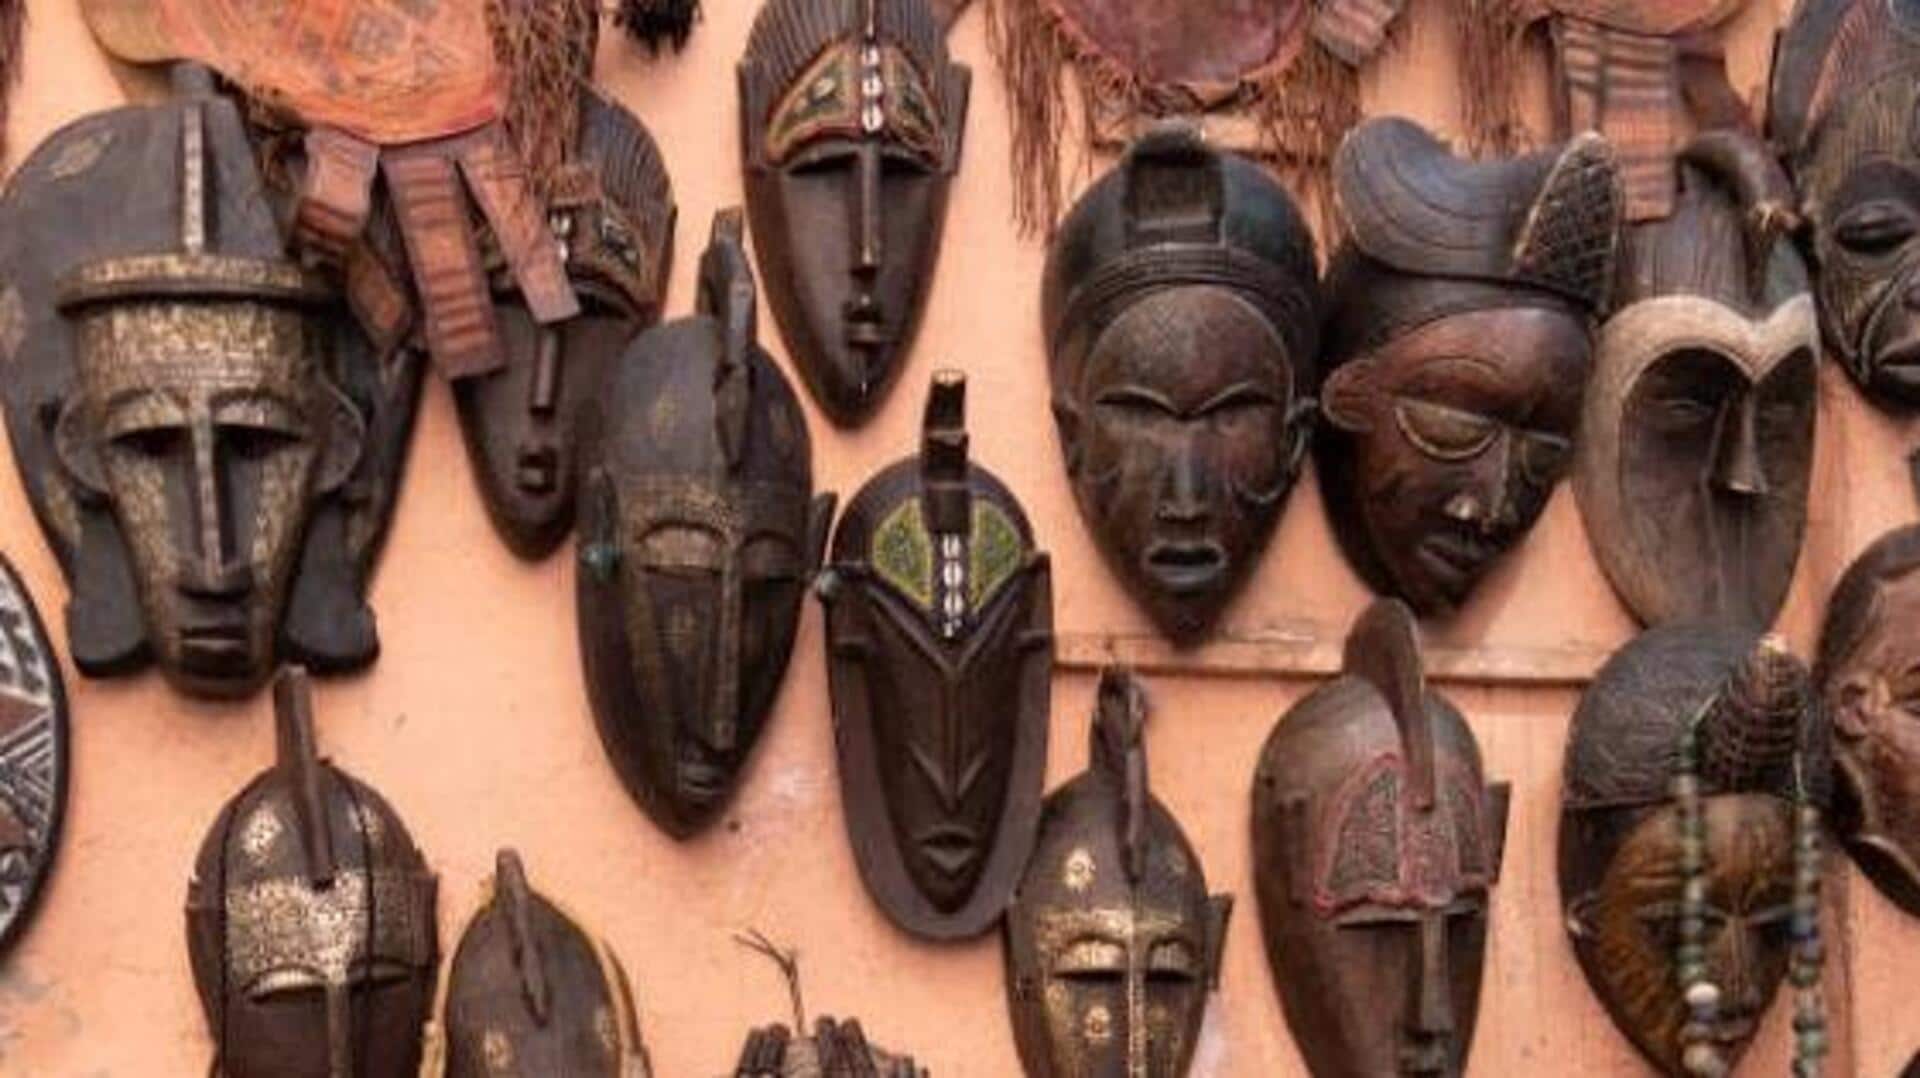
Exploring the craft of molding clay masks
What's the story
African clay masks are famous for their artistic and cultural significance. They are made using traditional techniques that have been passed down generations. These masks are not just art pieces, but also represent the history and identity of different African communities. Knowing how to mold these masks gives an insight into the rich heritage and craftsmanship involved in their creation.
Clay choice
Selecting the right clay
Choosing the right clay is essential for molding authentic African masks.
The clay should be malleable, yet firm enough to hold shape when dried.
Traditionally, artisans use natural clay sourced from riverbanks or other local sites. This type of clay is preferred because of its fine texture and ability to retain details during the drying process.
Essential tools
Tools for crafting masks
Artisans use a set of basic tools to sculpt African clay masks.
These include wooden spatulas for smoothing surfaces, metal wires for cutting excess material, and water containers to keep the clay moist.
These tools help achieve precision in detailing and ensure that each mask is unique.
Molding techniques
Techniques for molding masks
The process of molding African clay masks involves several techniques, including pinching, coiling, and slab construction.
Pinching involves shaping the clay with fingers to form facial features.
Coiling adds layers of rolled-out strips of clay to build depth.
Slab construction uses flat pieces of clay joined together to create intricate designs.
Final steps
Drying and finishing touches
Once molded, the mask needs to be dried slowly to prevent cracking.
It is usually kept in a shaded area, away from direct sunlight during this time.
After drying, artisans may add final touches, such as painting or engraving patterns that hold cultural significance, before displaying or using them ceremonially.