The beginner's guide to propagating spider plants
What's the story
Spider plants are famous for their air-purifying qualities and easy-care nature, making them a favorite among plant lovers. Propagating spider plants in water is a simple method to grow new plants from the existing ones. This method allows you to witness the roots develop, making it an interesting experience for beginners and experts alike. Here are some practical tips to successfully propagate spider plants in water.
Tip 1
Choosing the right cuttings
Selecting healthy cuttings is crucial for successful propagation.
Choose mature spiderettes or baby plants that are at least three inches long with well-developed roots.
Ensure that the cuttings have no signs of disease or damage.
Using clean, sharp scissors or pruning shears, carefully remove the desired cuttings from the parent plant.
Tip 2
Preparing water containers
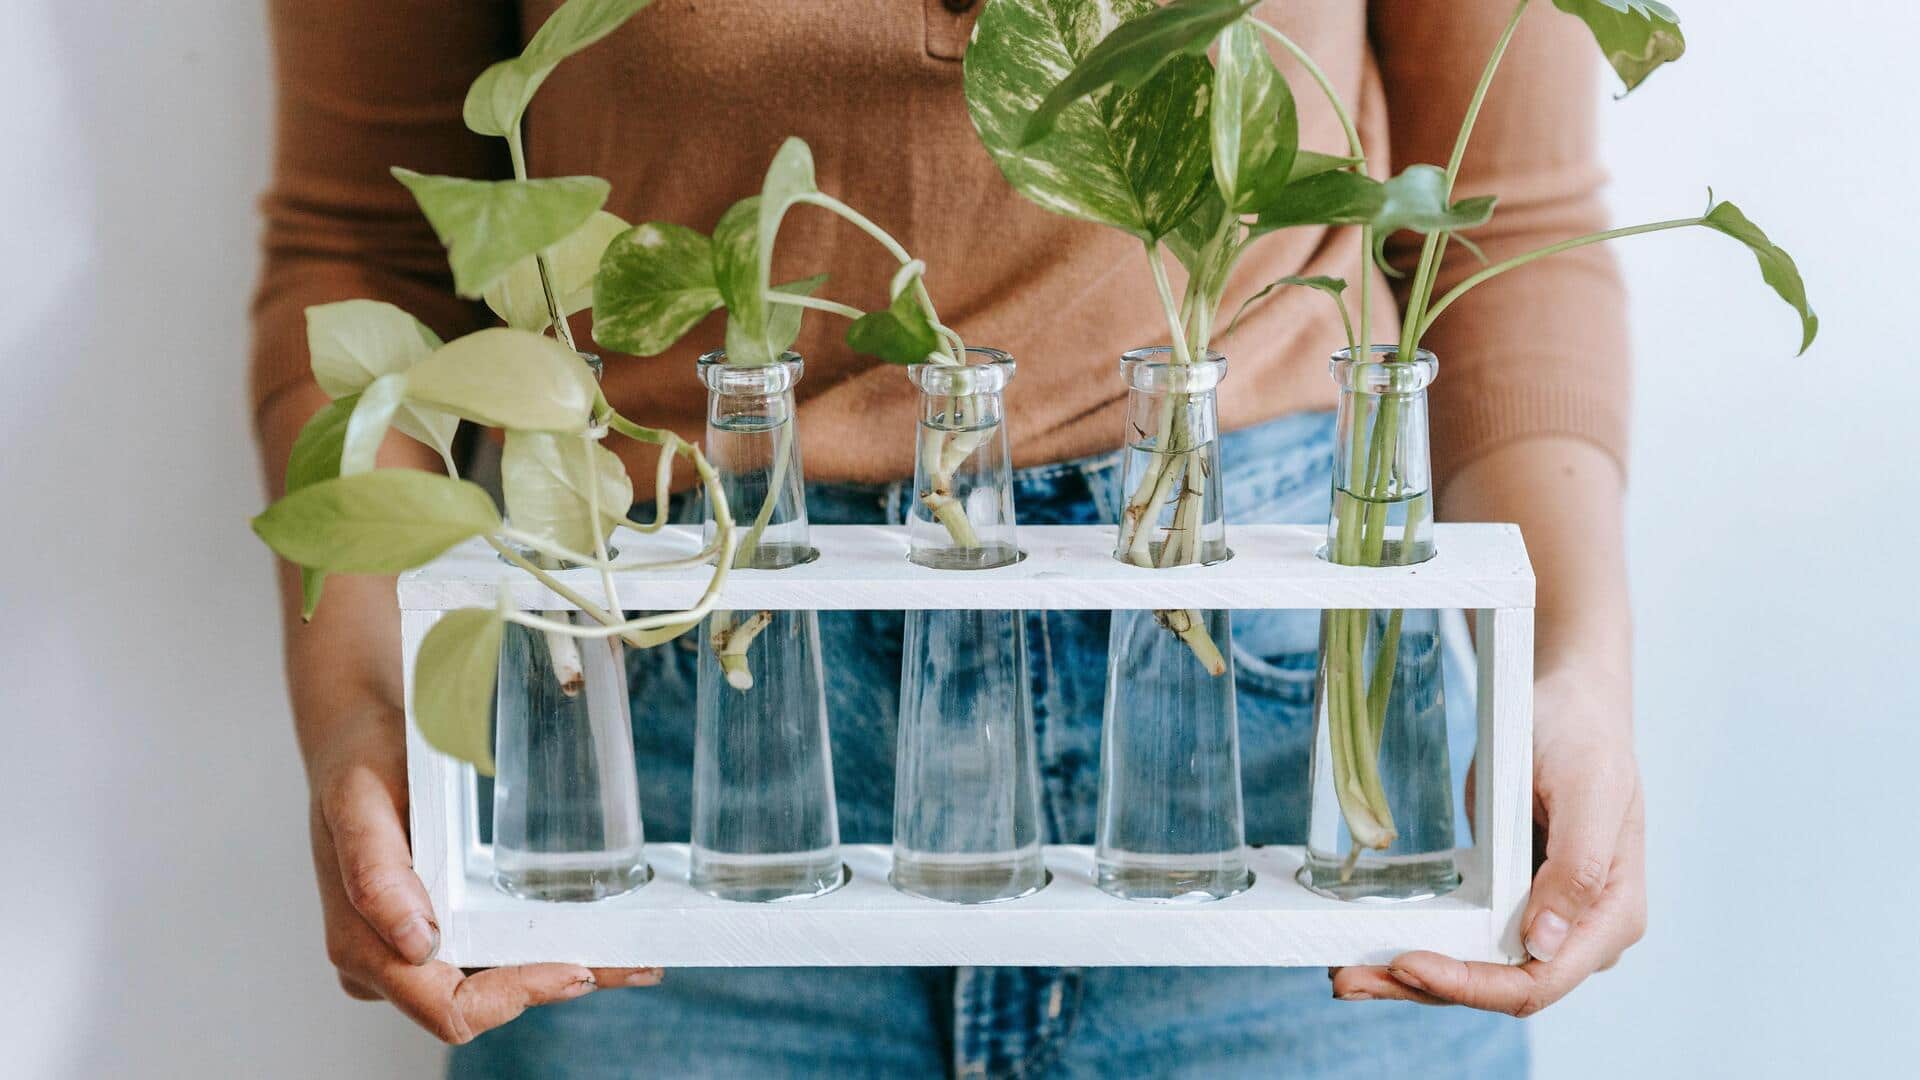
Using clear glass containers for your spider plant cuttings is a good idea. It lets you monitor the root growth easily.
Make sure that the containers are clean and free from any residue or chemicals that could harm the plants.
Fill each container with enough water to submerge only the lower part of the cutting, leaving leaves above the water level.
Tip 3
Maintaining optimal conditions
Place your water-filled containers in bright, indirect sunlight to encourage root growth without harming the cuttings with direct sunlight.
Change the water every week to keep it fresh and oxygenated. This will help prevent bacterial growth and keep your cuttings healthy.
Tip 4
Monitoring root development
Keep an eye on your cuttings regularly to check how well they're rooting.
In a week or two, you should see tiny roots starting to sprout from the base of each cutting.
Once these roots are about two inches long, they're ready to be transferred into soil for further growth as independent plants.