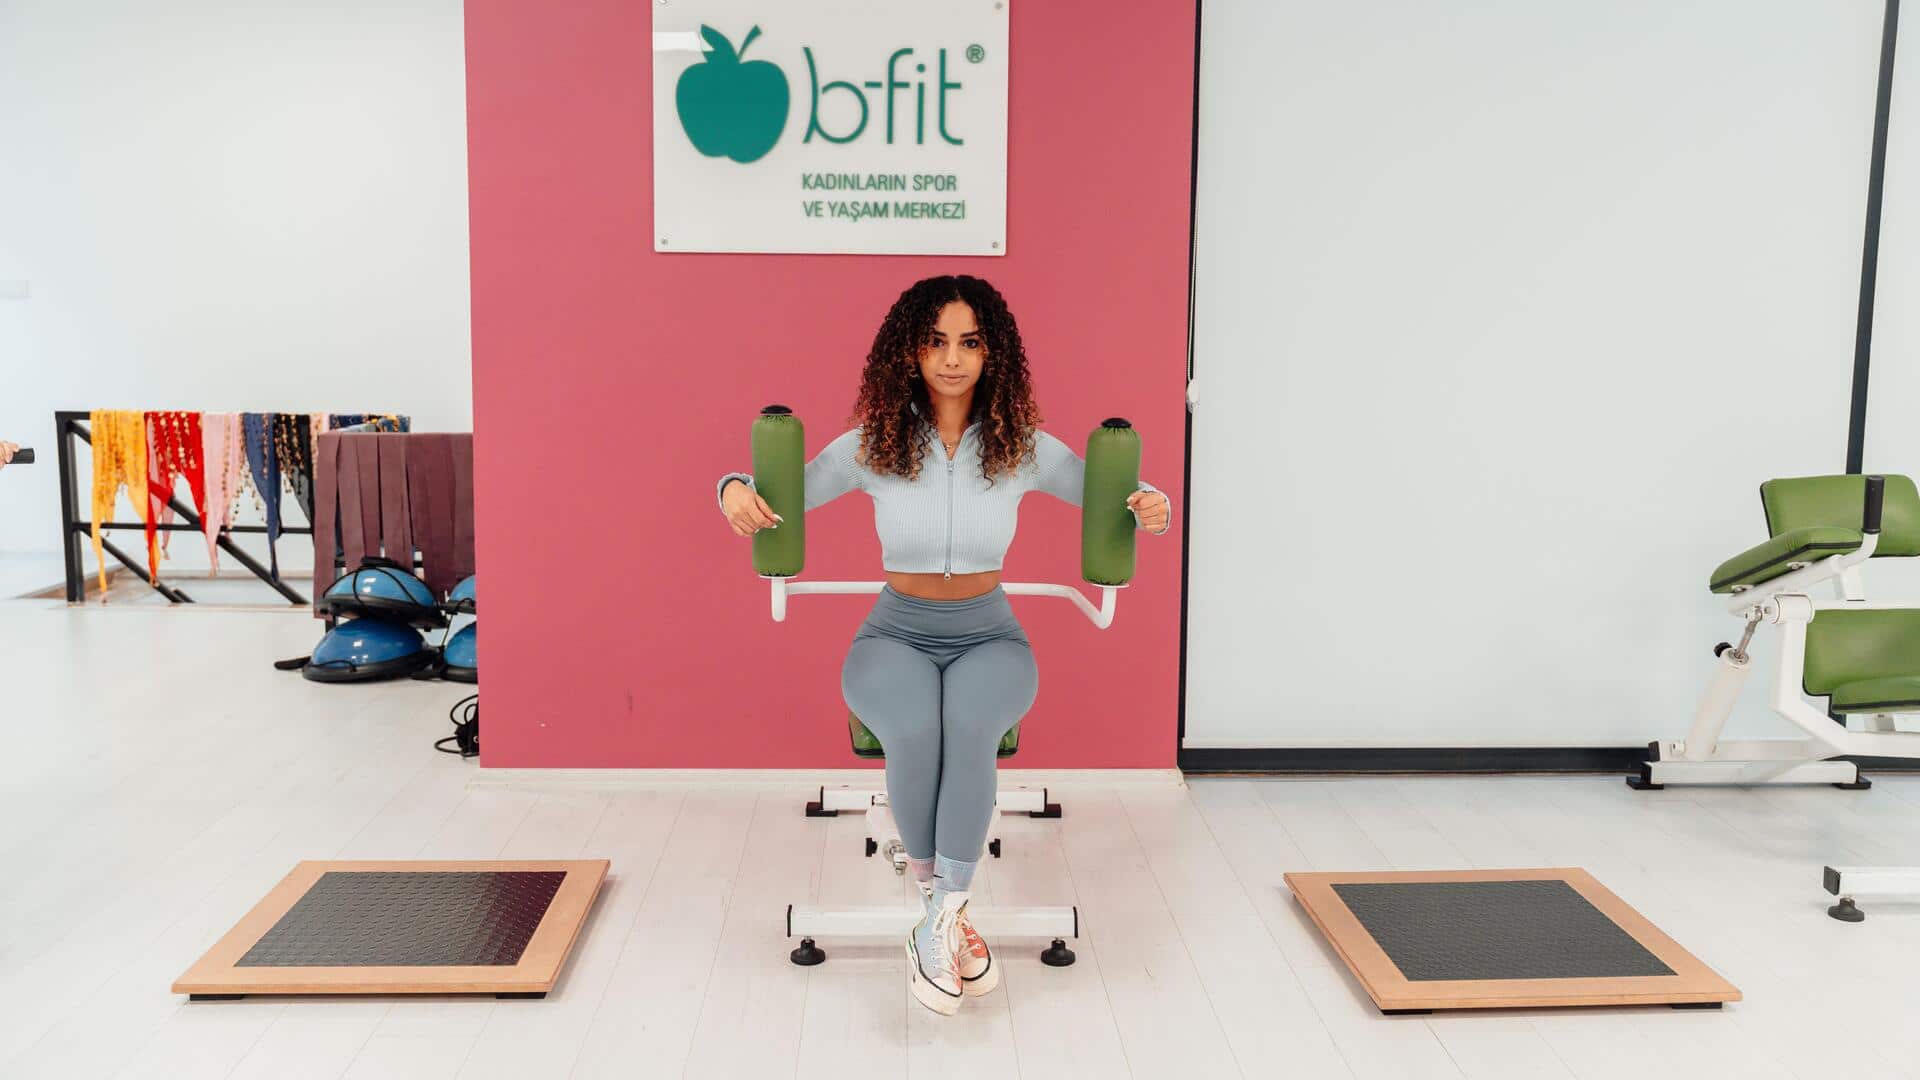
How to do seated trunk rotations correctly
What's the story
Seated trunk rotations are a simple, yet effective exercise to improve flexibility and strengthen core muscles. Perfect for beginners, this movement can be performed almost anywhere, making it a convenient addition to any fitness routine. By focusing on the torso's rotational capacity, the exercise helps maintain spinal health and improve posture. Here are some insights into performing seated trunk rotations correctly.
Tip 1
Proper seating position
To start seated trunk rotations, sit on the floor with your legs crossed or extended in front of you.
Keep your back straight and shoulders relaxed.
This position ensures that your spine is aligned and that you can engage your core muscles effectively during the movement.
Tip 2
Engaging core muscles
Before you begin rotating, engage your core muscles by pulling your belly button toward your spine.
This engagement helps stabilize your torso and protects your lower back from strain.
Maintaining this tension throughout the exercise will enhance its effectiveness.
Tip 3
Controlled movements
Perform the rotations slowly and in a controlled manner.
Start by turning your torso to one side while keeping your hips facing forward.
Use your hands on either side of your waist, or hold onto the back of a chair for support if needed.
Return to center before turning to the other side.
Tip 4
Breathing techniques
Incorporate breathing techniques into your routine to maximize benefits.
Inhale deeply as you prepare for each rotation, then exhale slowly as you turn your torso to one side.
This rhythmic breathing helps relax muscles and improves overall flexibility during the exercise.
Tip 5
Frequency and consistency
To reap the benefits of seated trunk rotations, practice them regularly, at least three times a week, for a few minutes each session.
Consistency is key to improving flexibility and strengthening core muscles over time.
With dedication, you will see noticeable improvements in your range of motion and posture.