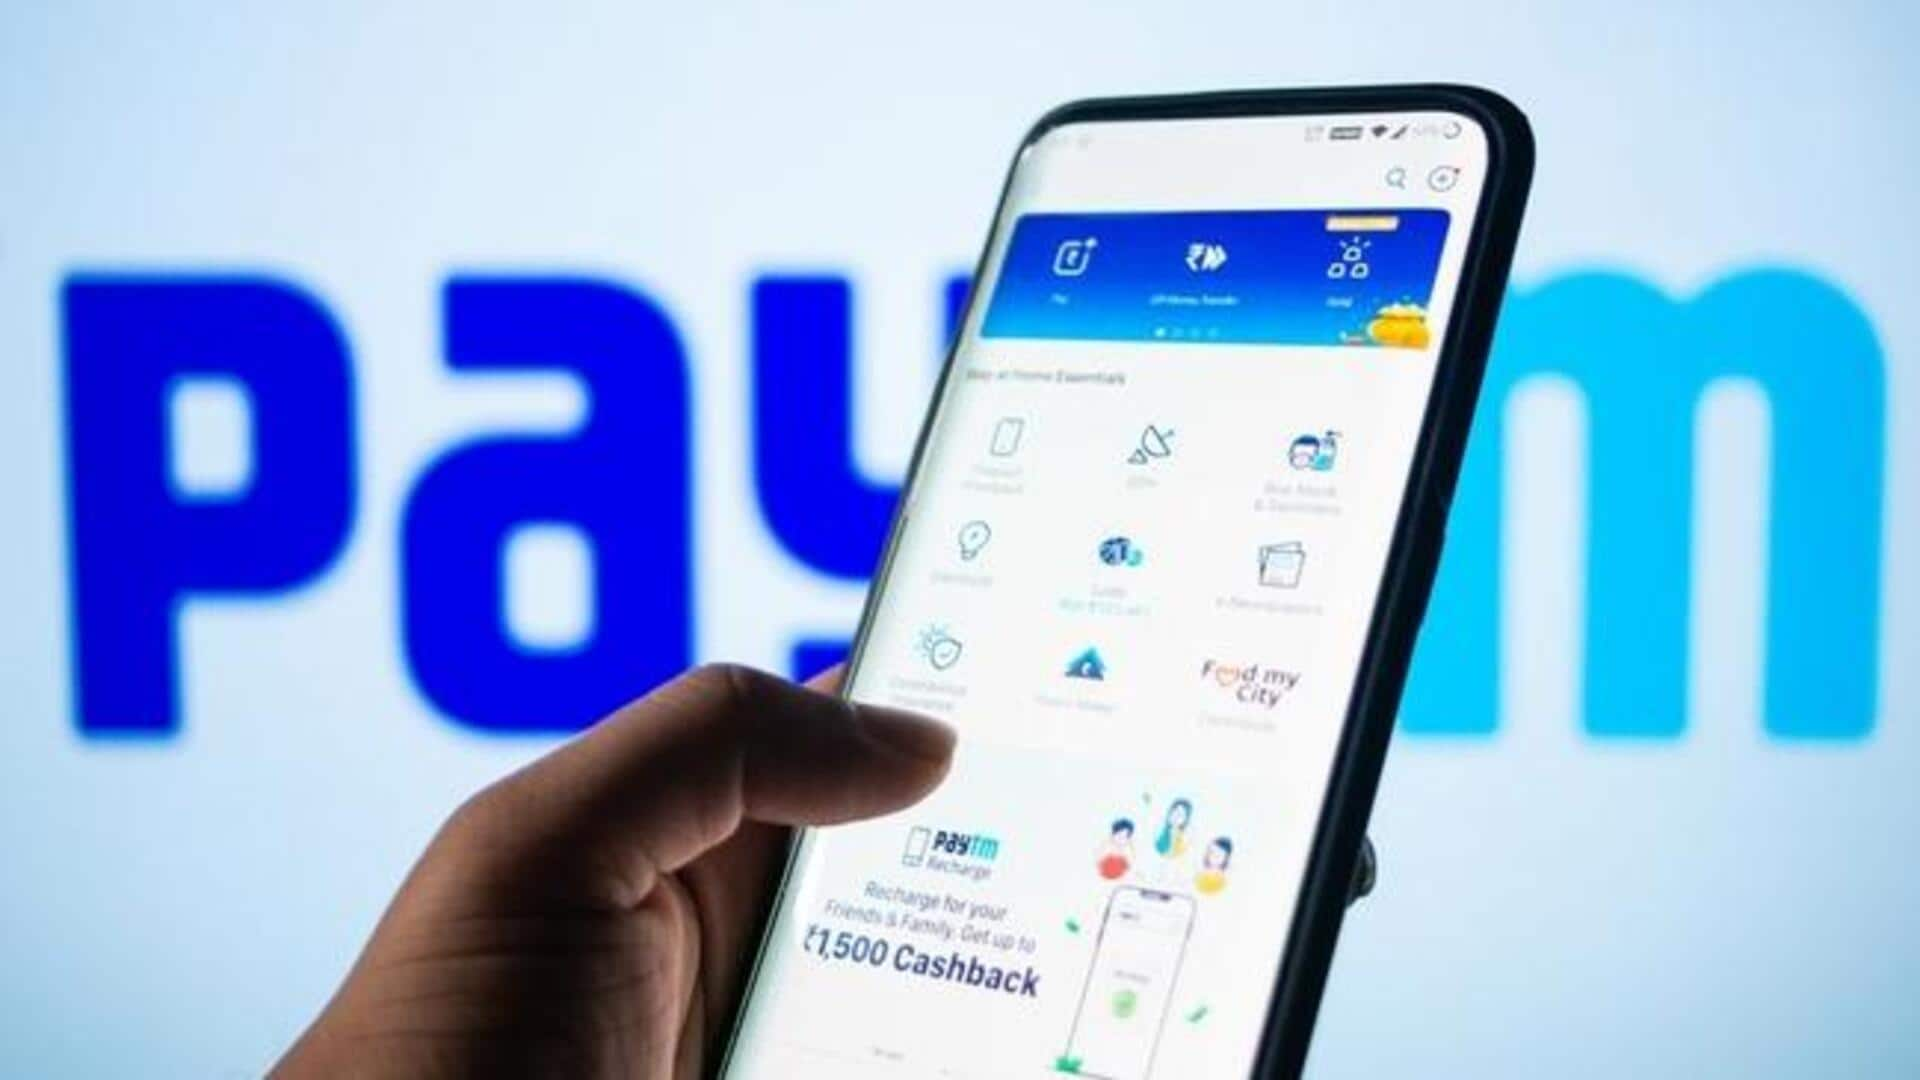
How to install and use Paytm on Android
What's the story
Paytm is one of the most used digital wallets and payment platforms in India, providing services from mobile recharges to bill payments. In this guide, we'll be talking about simple steps beginners can use to install and start using the Paytm app on Android. Its handy interface makes transaction management pretty simple. Just follow this guide to download, set up and start using Paytm on your device.
App download
Downloading the app from Google Play Store
To begin using Paytm on your Android phone, head over to the Google Play Store. Look up "Paytm" in the search bar. When you see the official app by One97 Communications Ltd., click on 'Install' to download it on your phone. Make sure you have a stable internet connection throughout the process for hassle-free downloading experience.
Account setup
Setting up your account
After downloading the app, open it and tap on "Sign Up" if you are new to Paytm. Enter your mobile number and create a safe password. You will get an OTP (One-Time Password) on SMS. Enter this code to verify your account. Once verified, fill in any additional details required, such as name or email address.
Wallet recharge
Adding money to your wallet
To add money into your Paytm wallet, go to the "Add Money" section of the app. Enter the amount you want to add and select a payment option like debit card or net banking. Follow prompts for payment authorization; once done successfully, money will be added instantly into your wallet balance.
Payment process
Making payments with ease
Using Paytm for payments is easy. Just select "Pay or Send," scan QR codes at merchant locations, or enter details of the recipient manually for transactions within India. Always confirm transaction details before proceeding to ensure you're not making some mistake and avoid any potential issues. Always double-check everything beforehand as a precaution.