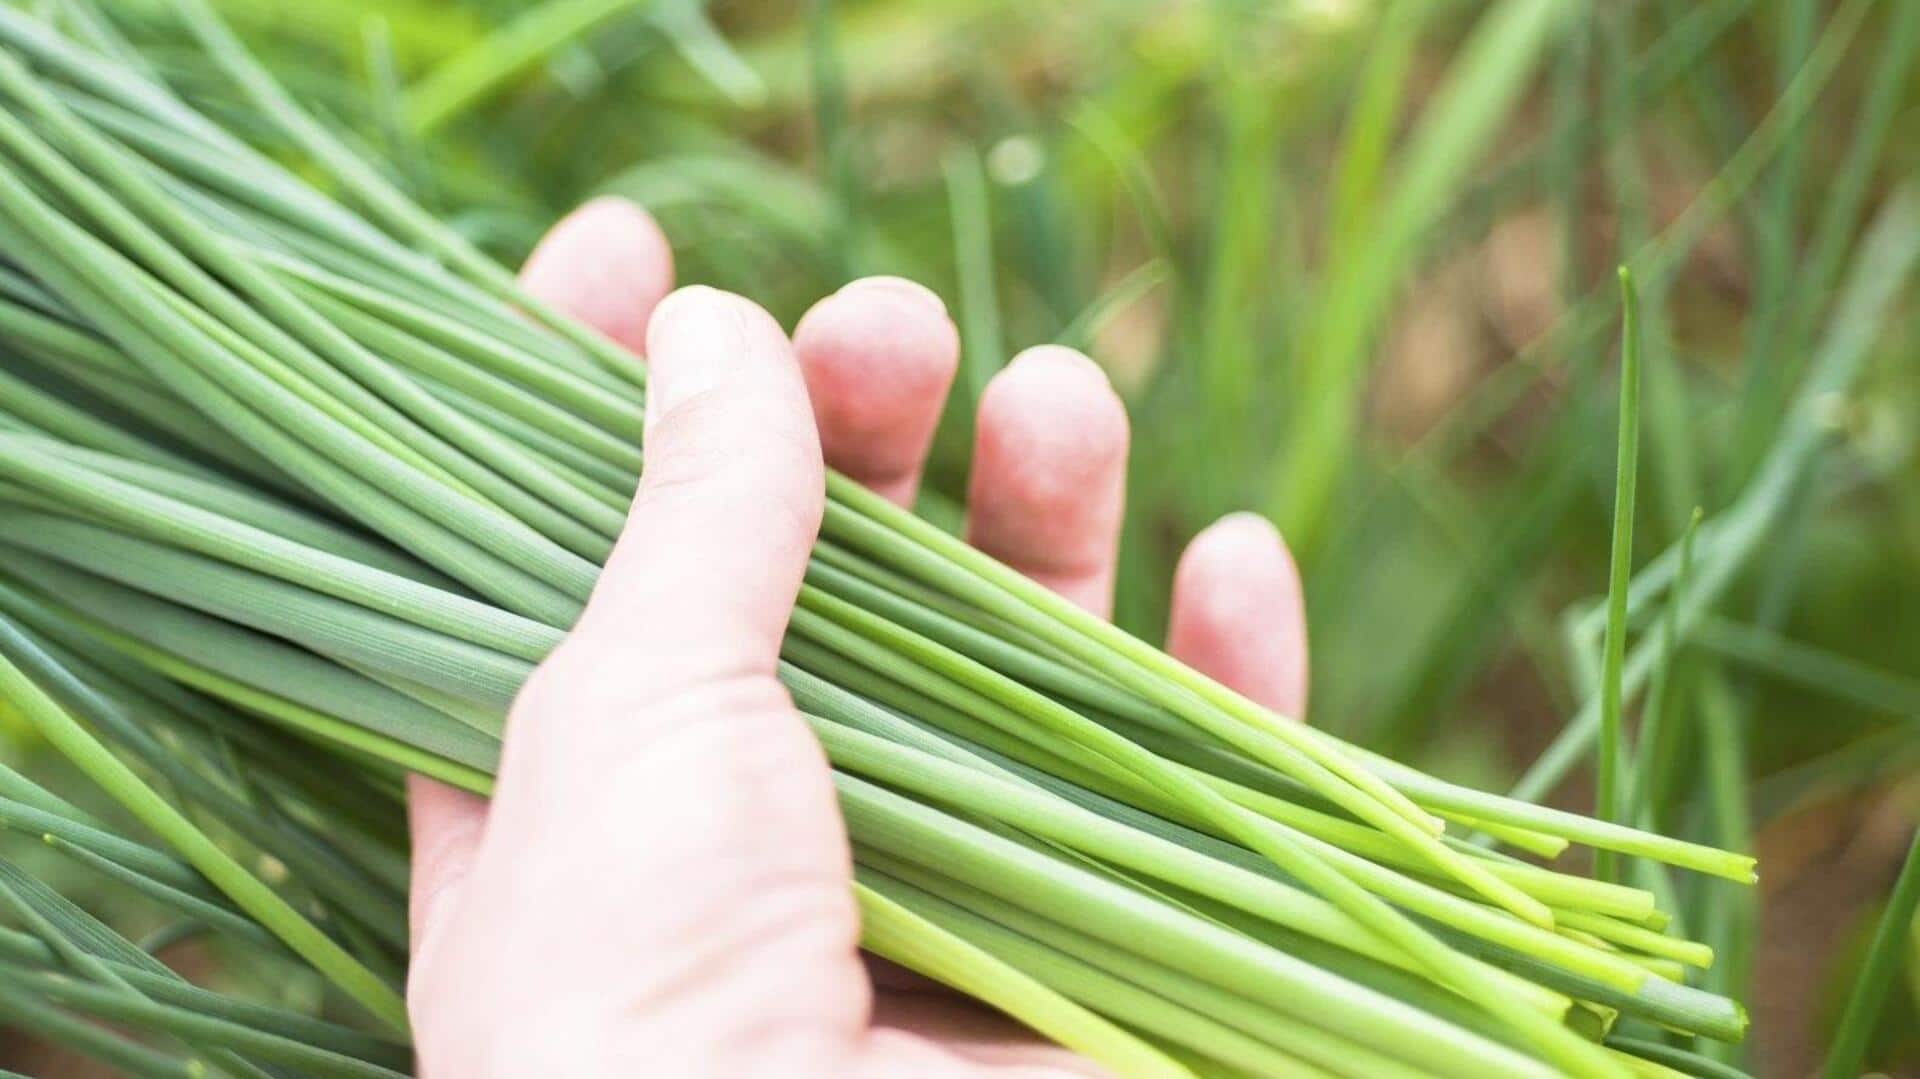
How to grow chives at home
What's the story
Growing edible chives indoors is an easy and rewarding task. These hardy herbs can flourish in cramped spaces, making them an ideal candidate for indoor gardening. With hardly any effort, you can have fresh chives ready to spice up your meals. Here's a guide to the basic steps you need to follow to grow chives indoors and have a steady harvest throughout the year.
#1
Choosing the right container
Selecting an appropriate container is essential for growing chives indoors. Go for pots that are at least six inches deep with drainage holes to prevent waterlogging. Terracotta or ceramic pots are perfect as they allow the air to circulate around the roots. Ensure that each pot has a saucer to catch excess water and prevent messes on your windowsill/countertop.
#2
Soil and planting essentials
Chives thrive in well-draining, organic-rich soil. Either use a potting mix specifically designed for herbs or create your own by mixing equal parts of peat moss, perlite, and compost. Sow seeds about one-quarter inch deep and cover lightly with soil. Water gently but thoroughly after planting to settle the soil around the seeds.
#3
Optimal light conditions
Chives need ample sunlight to flourish indoors. Keep them close to a south-facing window where they can soak up six to eight hours of direct sunlight every day. If natural light is not enough, try fluorescent grow lights positioned about six inches above the plants for 12-14 hours a day.
Tip 4
Watering and maintenance tips
Water chives when the top inch of soil feels dry to touch but avoid overwatering as it can lead to root rot. Trim leaves regularly by cutting them close to the base; this encourages new growth while keeping plants tidy. Fertilize every four weeks with a balanced liquid fertilizer diluted to half strength for optimal growth without overwhelming young plants.