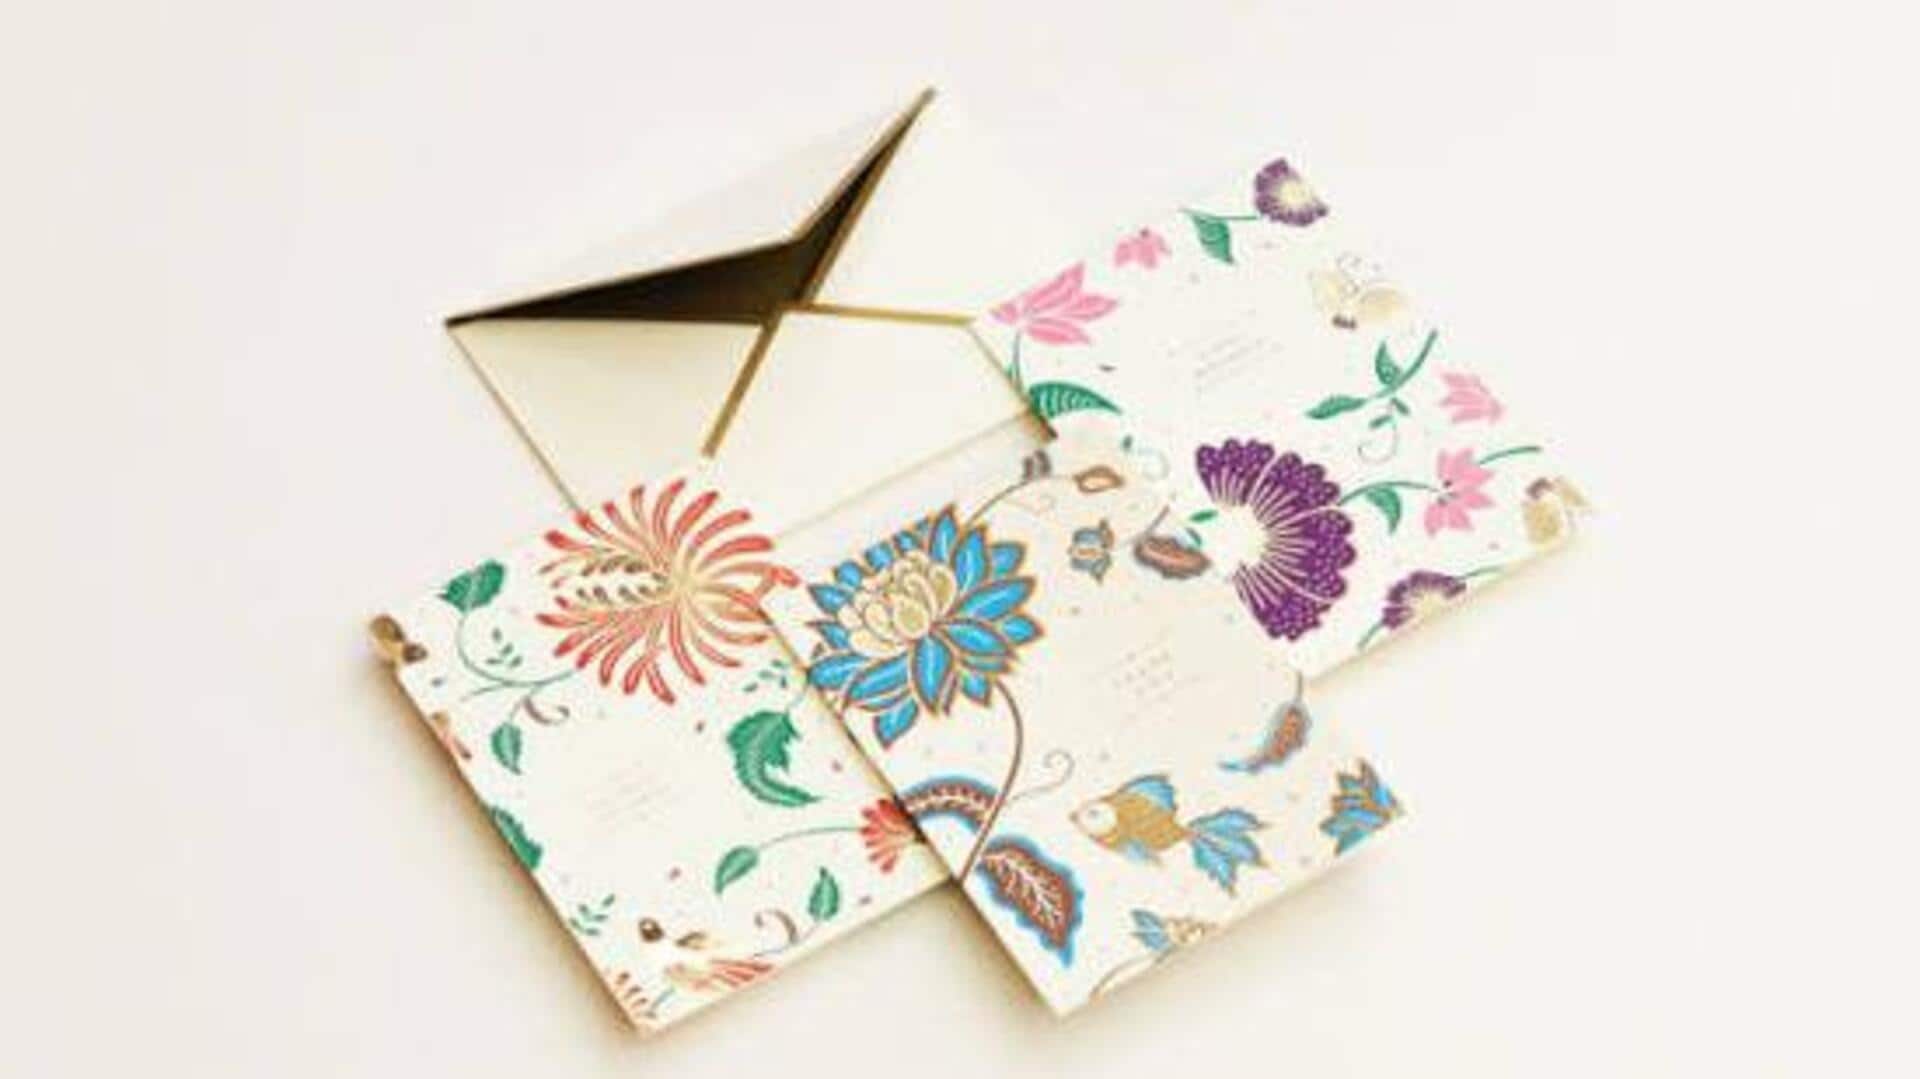
How to make batik greeting cards
What's the story
African batik is a unique art form that uses wax-resist dyeing to create intricate patterns. This traditional technique can be used to make beautiful greeting cards that reflect cultural heritage and artistic skill. By following simple steps, you can create your own batik greeting cards at home. This guide will provide you with essential tips and techniques to craft these unique cards, making them perfect for any occasion.
Materials
Gather your materials
To start making African batik greeting cards, gather the essentials. You will need plain card stock or thick paper as your base. Get some beeswax or paraffin wax for the resist part. Fabric dyes in vibrant colors are a must to get the authentic batik look. A small brush or stick for applying wax, and a small pot for melting wax, are also required.
Design
Create your design
Decide on the patterns you want to create on your card. Traditional African motifs like geometric shapes or nature-inspired designs work well. Use a pencil to lightly sketch your design on the card stock before applying any wax or dye. This step helps in visualizing how the final product will look and ensures that all elements fit well together.
Wax application
Apply wax resist technique
Melt the beeswax or paraffin wax in a small pot. Using a brush or stick, apply the melted wax onto your sketched design, following the lines of your pattern. The areas covered with wax will resist dye later on, so make sure that all parts of your design are well-coated.
Dye application
Dyeing process
Once the wax has cooled and hardened, it is time to add color with fabric dyes. Choose vibrant colors that complement each other, and apply them carefully over different sections of your design using brushes or droppers. Let each color dry completely before moving on to other sections to avoid mixing colors unintentionally.
Final steps
Finishing touches
After dyeing is complete and all colors have dried thoroughly, carefully remove excess wax by placing paper towels between layers of card stock, and gently pressing with an iron set on low heat. This step removes any remaining wax residue without damaging delicate patterns underneath. Finally, trim edges if necessary before folding into card shape, ready for use.