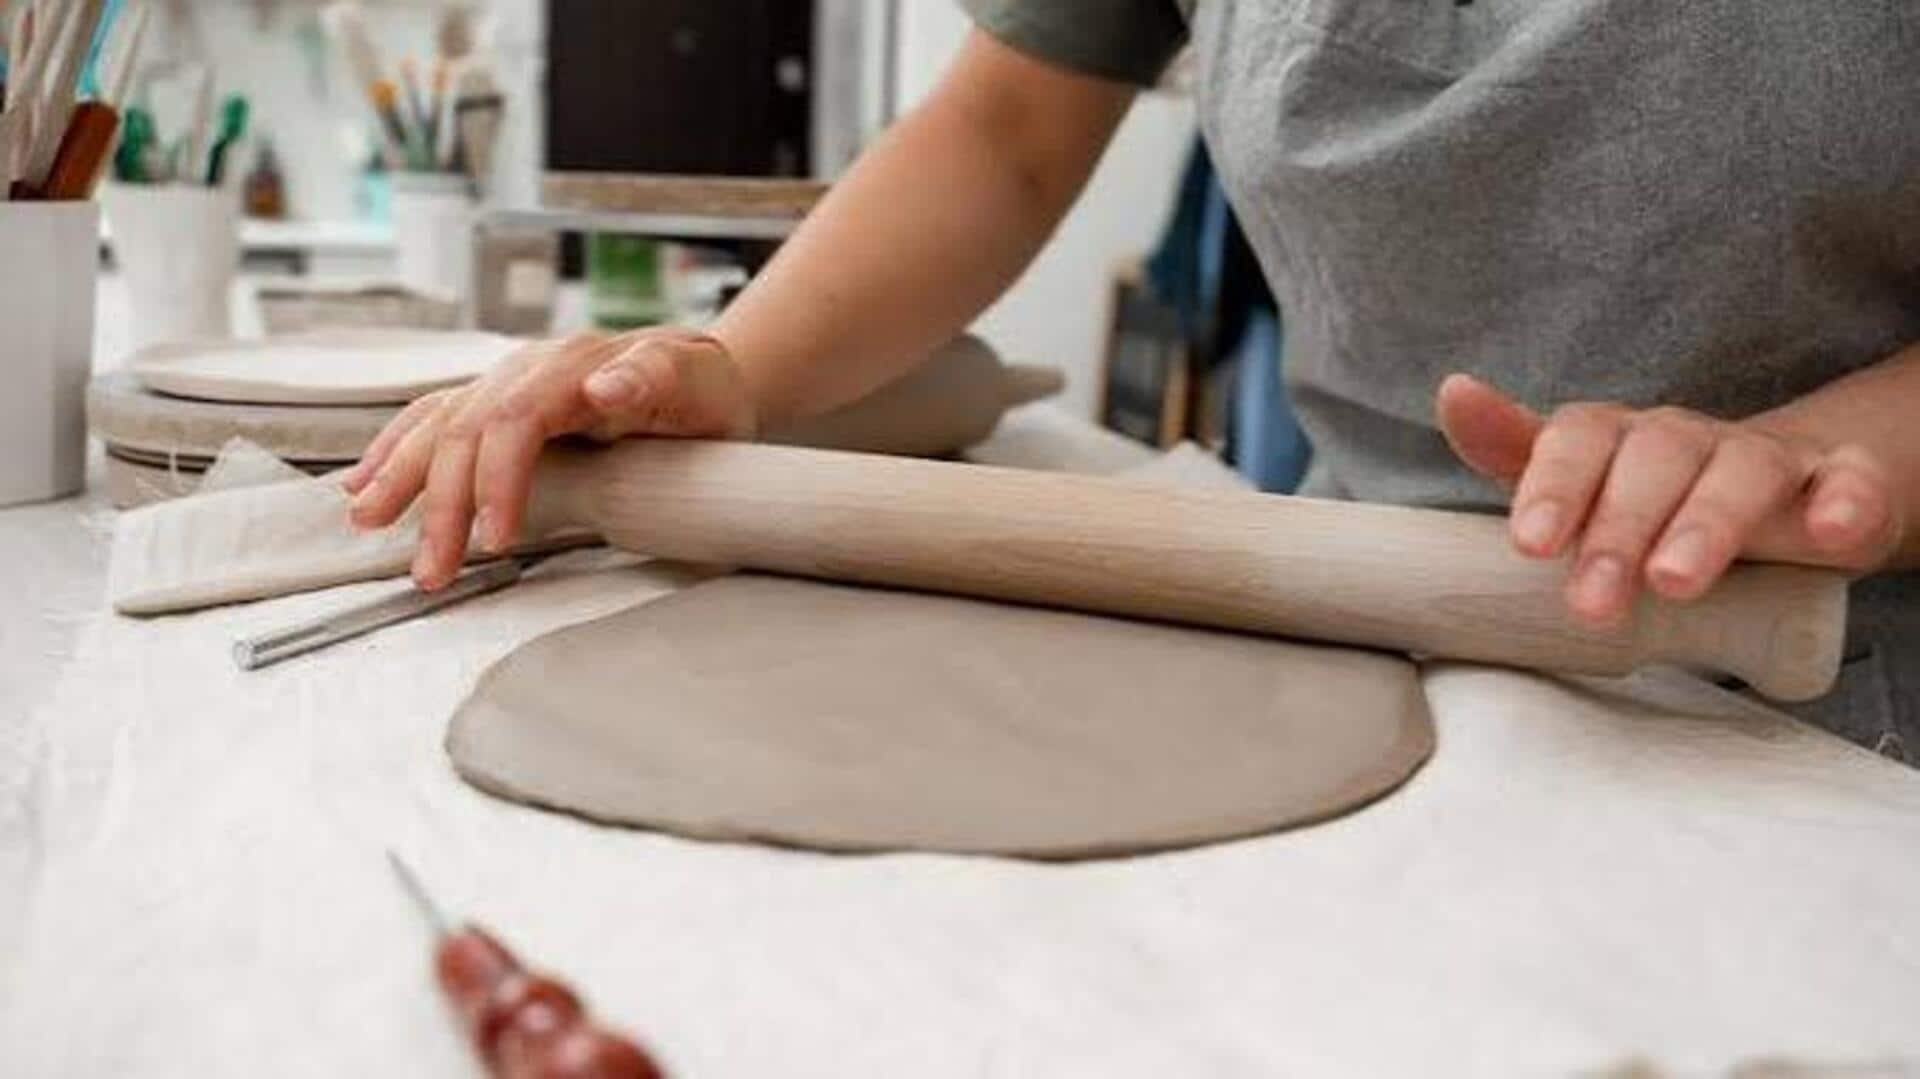
Clay rolling: A creative way to make pottery
What's the story
African clay rolling is a traditional technique that has been used for centuries to create beautiful, functional art. This method involves rolling clay into thin sheets and shaping them into various forms, including vases. The process is not only an artistic expression but also a way to connect with cultural heritage. By mastering this technique, one can create unique pieces that reflect both personal style and cultural significance.
#1
Selecting the right clay
Choosing the right type of clay is essential for successful African clay rolling.
Earthenware is a popular choice because of its workability and affordability.
Stoneware is another option, being more durable and resistant to moisture.
Consider the final use of your vase when selecting clay; if it will hold water, opt for stoneware or a similar type that can withstand moisture without cracking.
#2
Preparing your workspace
A well-organized workspace is key to smooth clay rolling.
Start by covering your table with a plastic sheet or canvas to keep the area clean.
Have all tools within reach, including rolling pins, knives, and water containers for smoothing edges.
Keeping your workspace organized helps you focus on the creative process without unnecessary distractions.
#3
Mastering rolling techniques
Rolling techniques are at the core of African clay vases.
Start by kneading the clay until it is soft and pliable.
Use a rolling pin to flatten the clay into even sheets, about one-quarter inch thick.
Practice maintaining uniform thickness throughout each sheet, as this will ensure consistent strength and appearance in your final piece.
#4
Shaping your vase design
Once you have rolled out your clay sheets, it is time to shape your vase design.
Use templates or freehand techniques to cut out shapes from the sheets.
Carefully assemble these pieces by joining edges with water or slip (a mixture of clay and water).
Pay attention to symmetry and proportion as you shape your vase.
#5
Drying and finishing touches
After shaping, let your vase dry slowly at room temperature to avoid cracks from rapid drying or heat exposure from kilns during firing processes later on, if needed (depending on whether you want them fired).
Once dried completely, which usually takes a few days depending on thickness, smooth rough edges with fine-grit sandpaper, if necessary, before applying any glazes or paints desired.