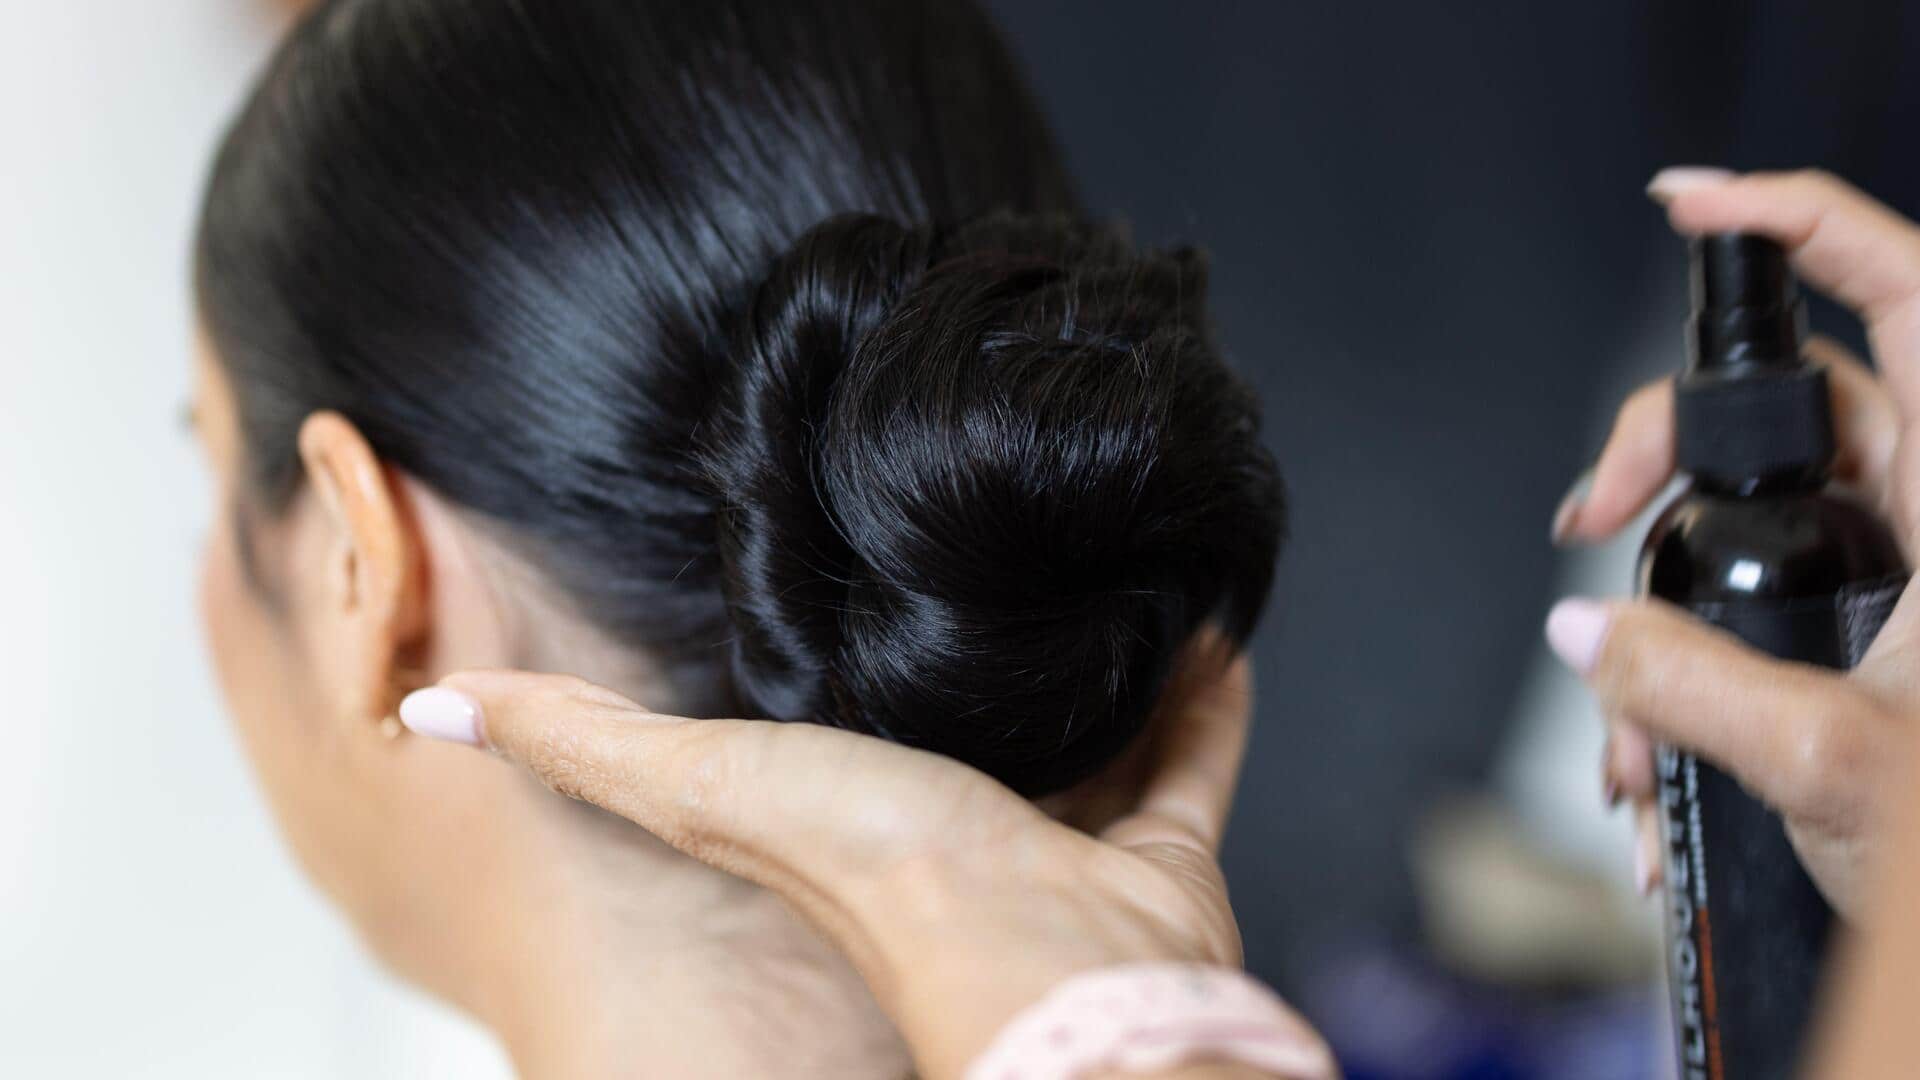
Try these heat-free ways to make a sleek bun
What's the story
Sleek buns are a timeless hairstyle that can make anyone look elegant and polished. They are perfect for formal occasions or even a day at the office. The best part is, you can achieve these styles without any heat, which is good for your hair health. Here are five heat-free ways to style your hair into a sleek bun, each with its own unique twist.
#1
Classic low bun with bobby pins
The classic low bun is a staple for its simplicity and elegance.
To achieve this look, start by brushing your hair back into a low ponytail at the nape of your neck. Secure it with an elastic band.
Twist the ponytail around itself until it forms a coil, and wrap it around the base of the ponytail.
Secure with bobby pins for a neat finish.
#2
Sock bun technique
The sock bun technique gives you volume and a smooth finish.
Cut off the toe of an old sock to make a doughnut shape.
Place it over your ponytail and pull your hair through the sock doughnut.
Spread your hair evenly around the doughnut shape, and tuck in any loose strands underneath, securing with pins if needed.
#3
Braided bun style
A braided bun gives you texture and sophistication without using heat tools.
Start by parting your hair down the middle and dividing each side into three sections for braiding.
Once both sides are braided tightly, wrap each braid around itself to form two buns on either side of your head, securing them with elastics or pins.
#4
Twisted chignon method
The twisted chignon adds an intricate touch to traditional buns without requiring any heat styling tools.
Start by parting damp or slightly damp hair down the middle.
Twist each section toward its respective ear until they meet at the back of the head.
Cross them over each other before pinning down securely with bobby pins.
Tip 5
Messy top knot approach
For those who prefer casual chic looks, opt for a messy top knot instead.
Gather all your locks into a high ponytail atop the crown of the head. Secure tightly using an elastic band.
Then, loosely wrap the remaining length around the base, creating an intentionally tousled appearance.
Finish off by securing everything in place with additional pins, if necessary.