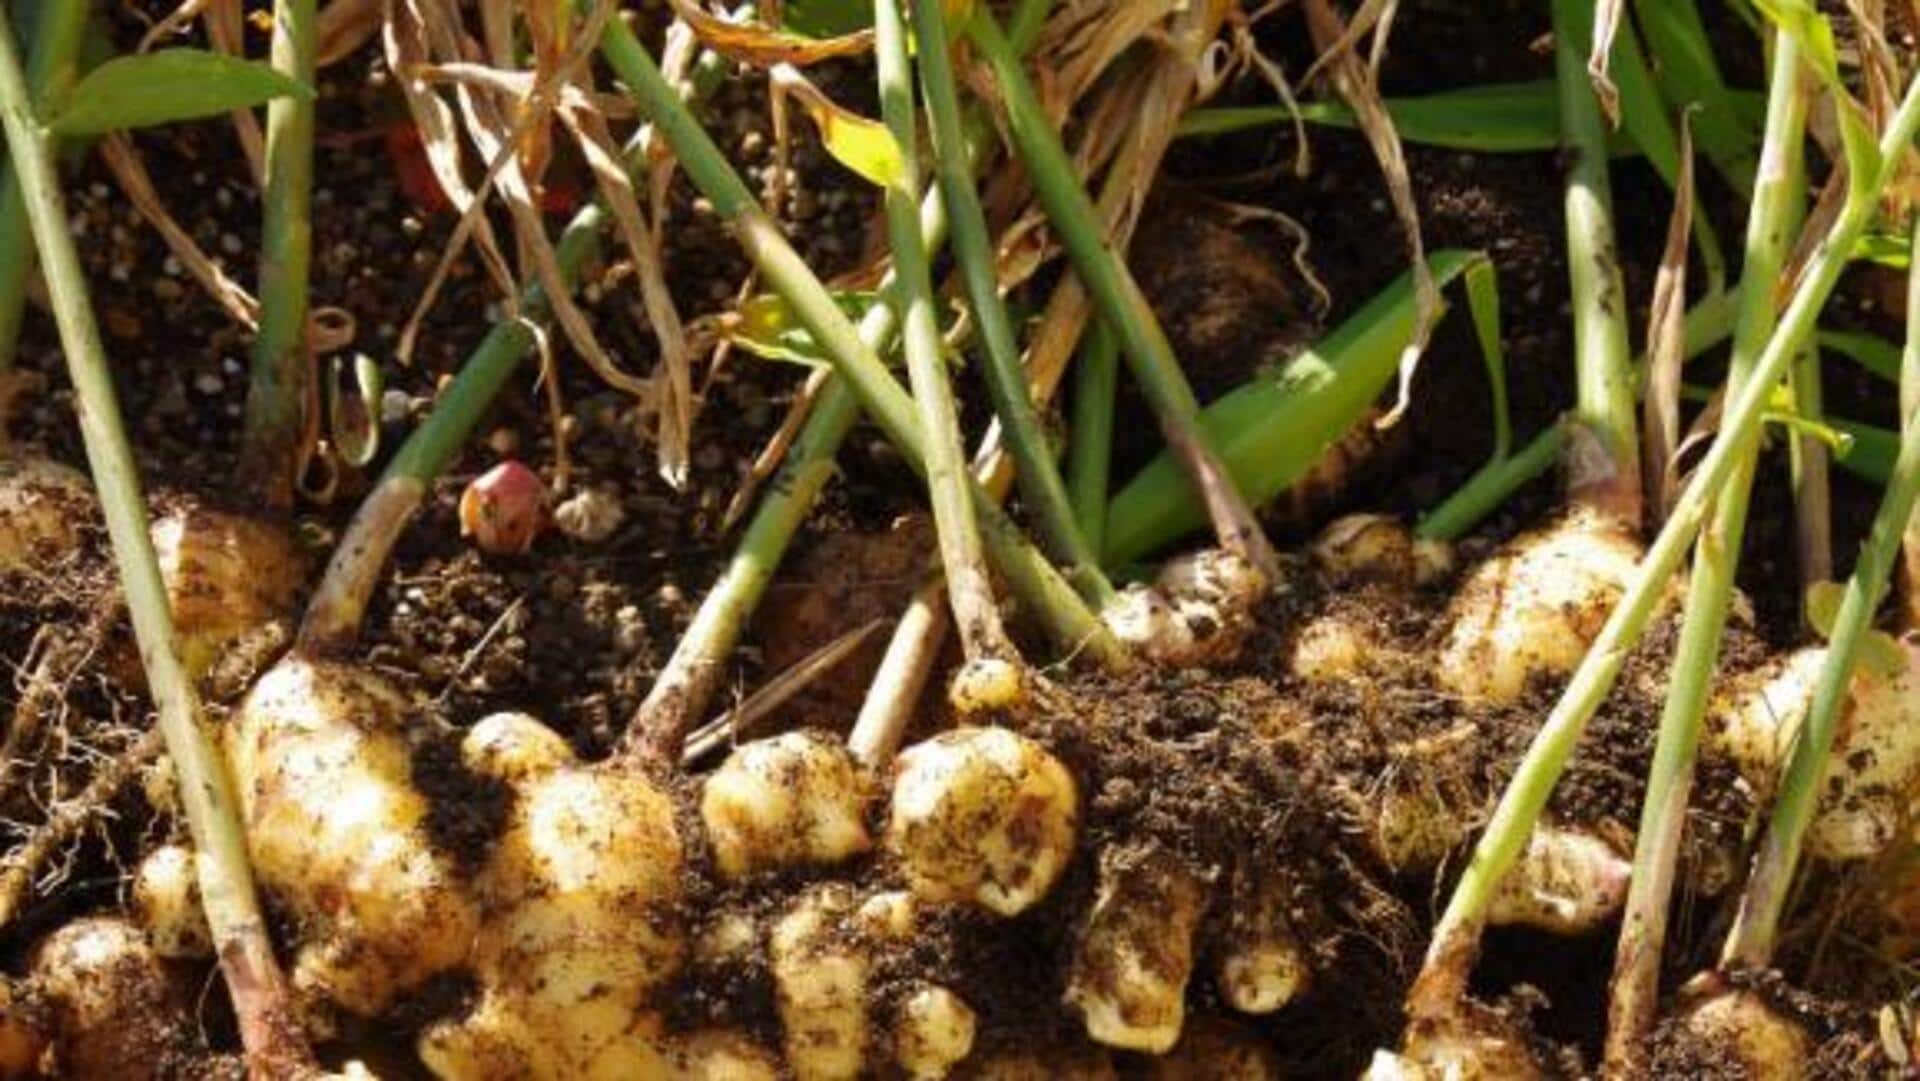
How to grow fresh ginger at home
What's the story
Growing ginger at home can be rewarding and quite easy too. The versatile root is a staple in most kitchens and also provides a range of health benefits. If you can provide the right conditions and care, you can grow fresh ginger without much fuss. Be it a garden or a small pot sitting on your balcony, some basic steps will give you a steady supply of this aromatic spice right at your fingertips.
Selection
Choosing the right ginger rhizome
Start by picking healthy ginger rhizomes at your local market or store. Look for plump pieces with tight skin and visible eyes or buds. Avoid shriveled or moldy rhizomes, as they are less likely to sprout successfully. Once you have selected the right piece, soak it in water overnight to encourage sprouting.
Soil preparation
Preparing the soil for planting
Ginger grows well in well-draining soil that is rich in organic matter. Use a potting soil-compost mix to prepare an ideal growing medium. The soil should be loose enough for the roots to expand easily, but retain enough moisture without becoming waterlogged. A pH level of 5.5-6.5 is ideal for ginger growth.
Planting technique
Planting ginger rhizomes correctly
Plant each rhizome about two inches deep with the buds facing upwards. Space them about eight inches apart if you're planting multiple pieces together. Cover them lightly with soil and water gently to settle them into place. Keep the soil consistently moist but not soggy during this initial stage of growth.
Care tips
Providing optimal growing conditions
Ginger needs warm temperatures between 22 degrees Celsius and 30 degrees Celsius (72 degrees Fahrenheit to 86 degrees Fahrenheit) and indirect sunlight for best growth. When growing indoors, keep pots close to windows where they receive filtered light all day, avoiding direct sun exposure, which may scorch leaves over time.
Harvest time
Harvesting your homegrown ginger
After eight months of careful nurturing under the suitable conditions mentioned above, ginger will be ready for harvest when leaves start turning yellowish-brown, indicating maturity has been reached. Carefully dig up the entire plant using hands, ensuring minimal damage is done to the roots themselves before separating the desired amount needed for culinary purposes. Replant the remaining portion to continue the cycle anew.