How to repurpose milk jugs for your garden
What's the story
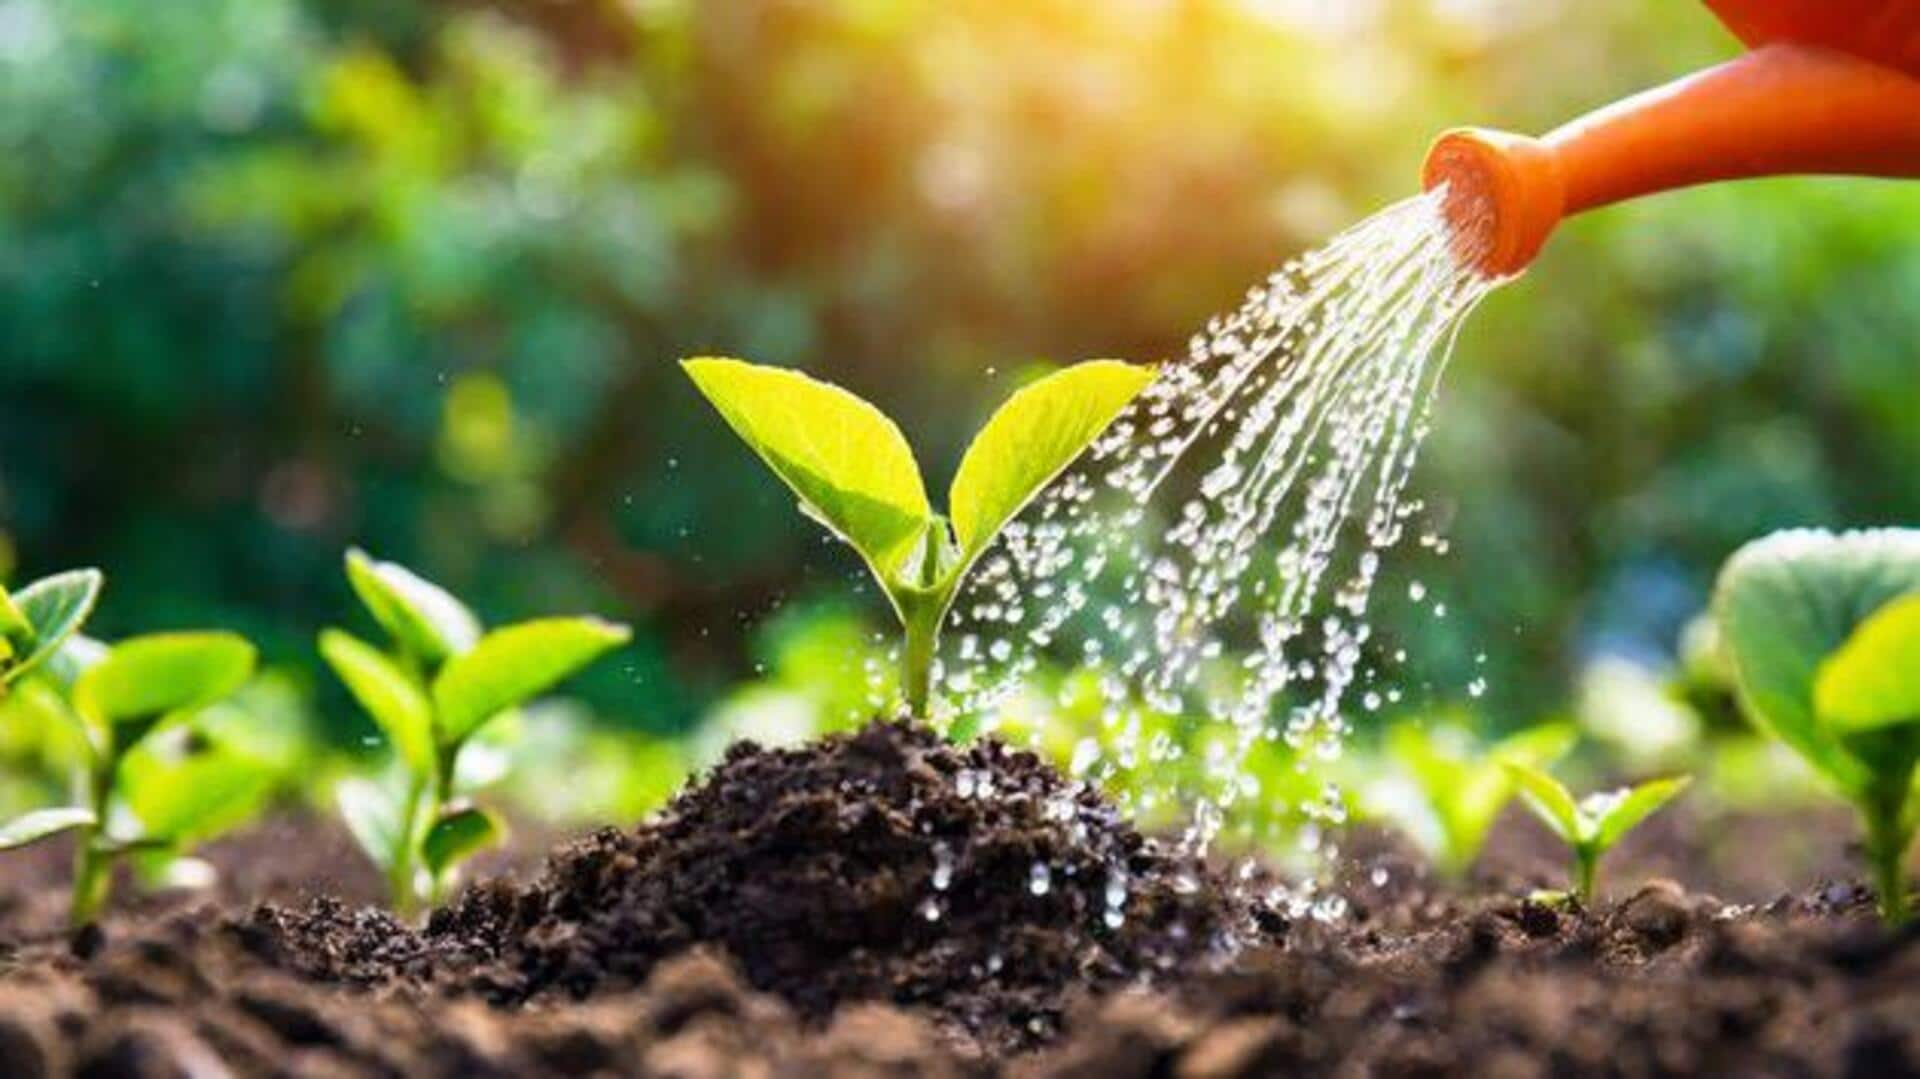
Repurposing household items can be good for the environment and your pocket. One such item that can easily be repurposed is the milk jug. By turning milk jugs into watering cans, you not only avoid wastage but also get your hands on a practical tool for your gardening needs. This easy DIY project takes little effort and materials, making it accessible to anyone looking to upgrade their gardening without shelling out extra cash.
Materials
Gather necessary materials
To start off with this project, you will need a few basic items. First of all, grab an empty milk jug, preferably one that has a handle to make pouring easy. Also, keep a small drill or any sharp object handy to make holes in the cap of the jug. This will allow the water to flow out evenly while watering plants.
Drilling
Create holes in the cap
Once your materials are ready, begin with making holes in the cap of the milk jug. Use a small drill or sharp object to create a few evenly spread holes. The size and number of holes can vary depending on how much water flow you want. However, avoid making the holes too big to prevent too much water from pouring out at once.
Customization
Customize your watering can
After drilling holes in the cap, think about customizing your new watering can for added functionality or aesthetics. You could label it with permanent markers or add decorative elements using paint or stickers. Customizing allows you to personalize your tool while ensuring it stands out among other garden tools.
Testing
Test and adjust flow rate
Before you use your newly made watering can on plants, test its flow rate. Simply fill it with water and see how it pours through the drilled cap holes. If you need, adjust by adding more holes if too little water flows out or covering some if too much comes through at once.